From Dip Dye to Balayage: A Brief History of Balayage
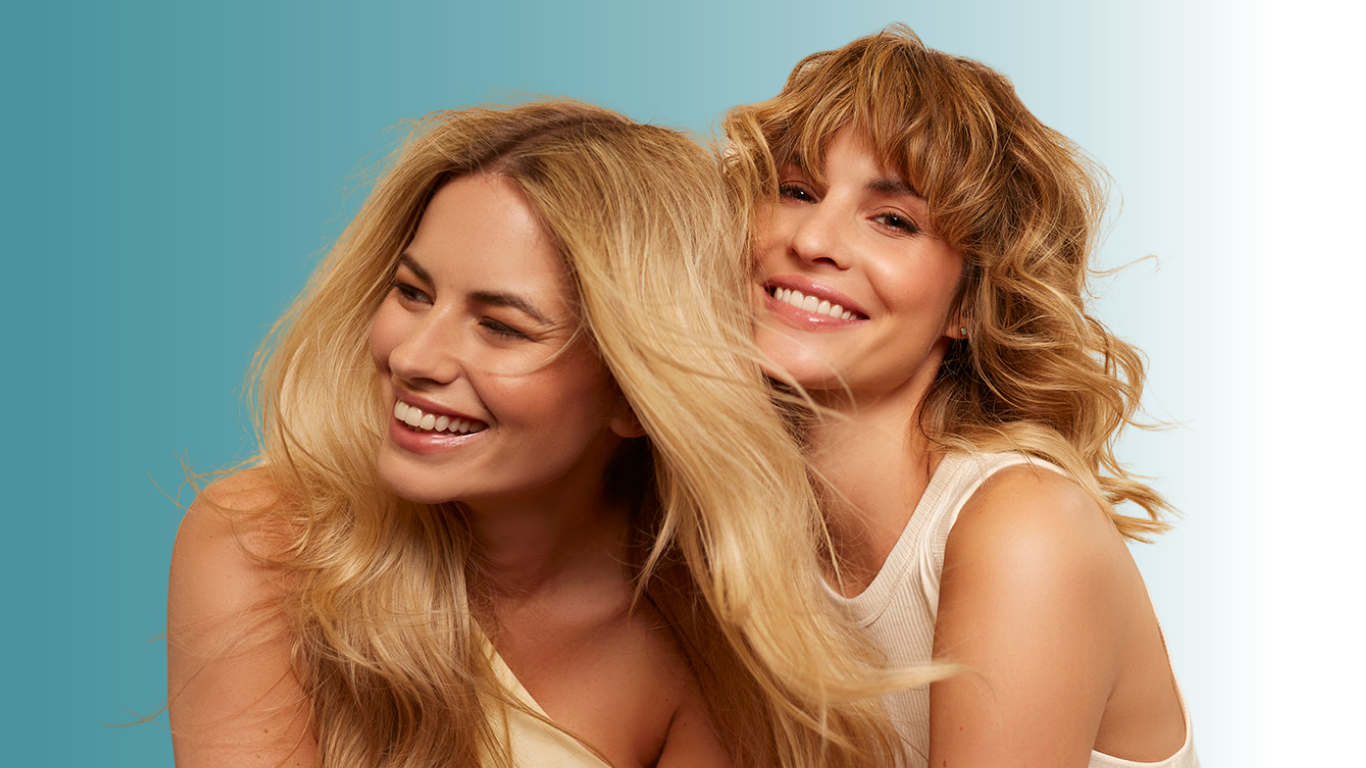
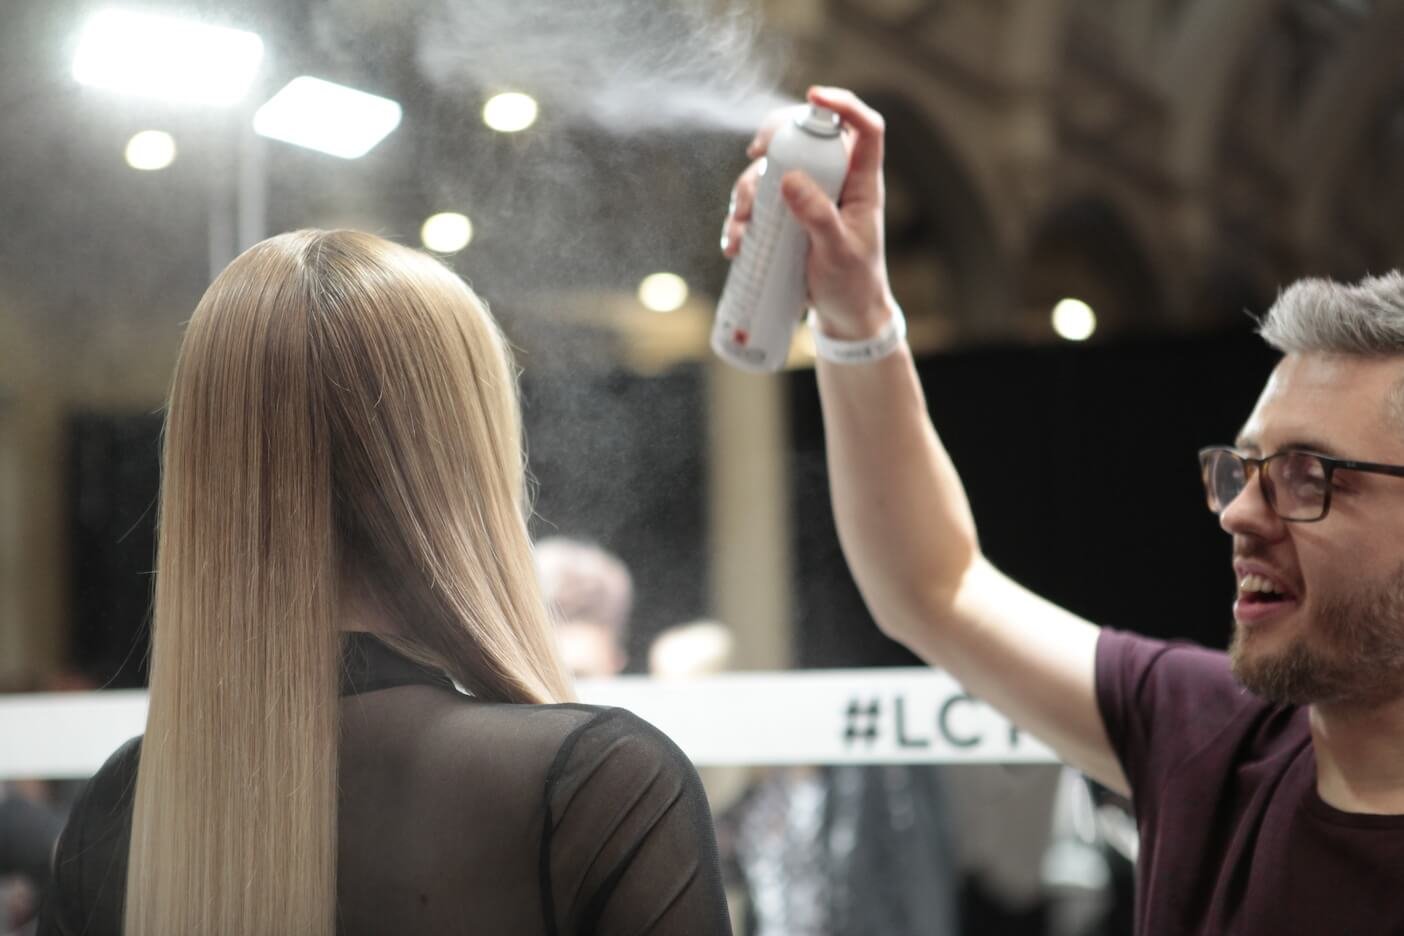
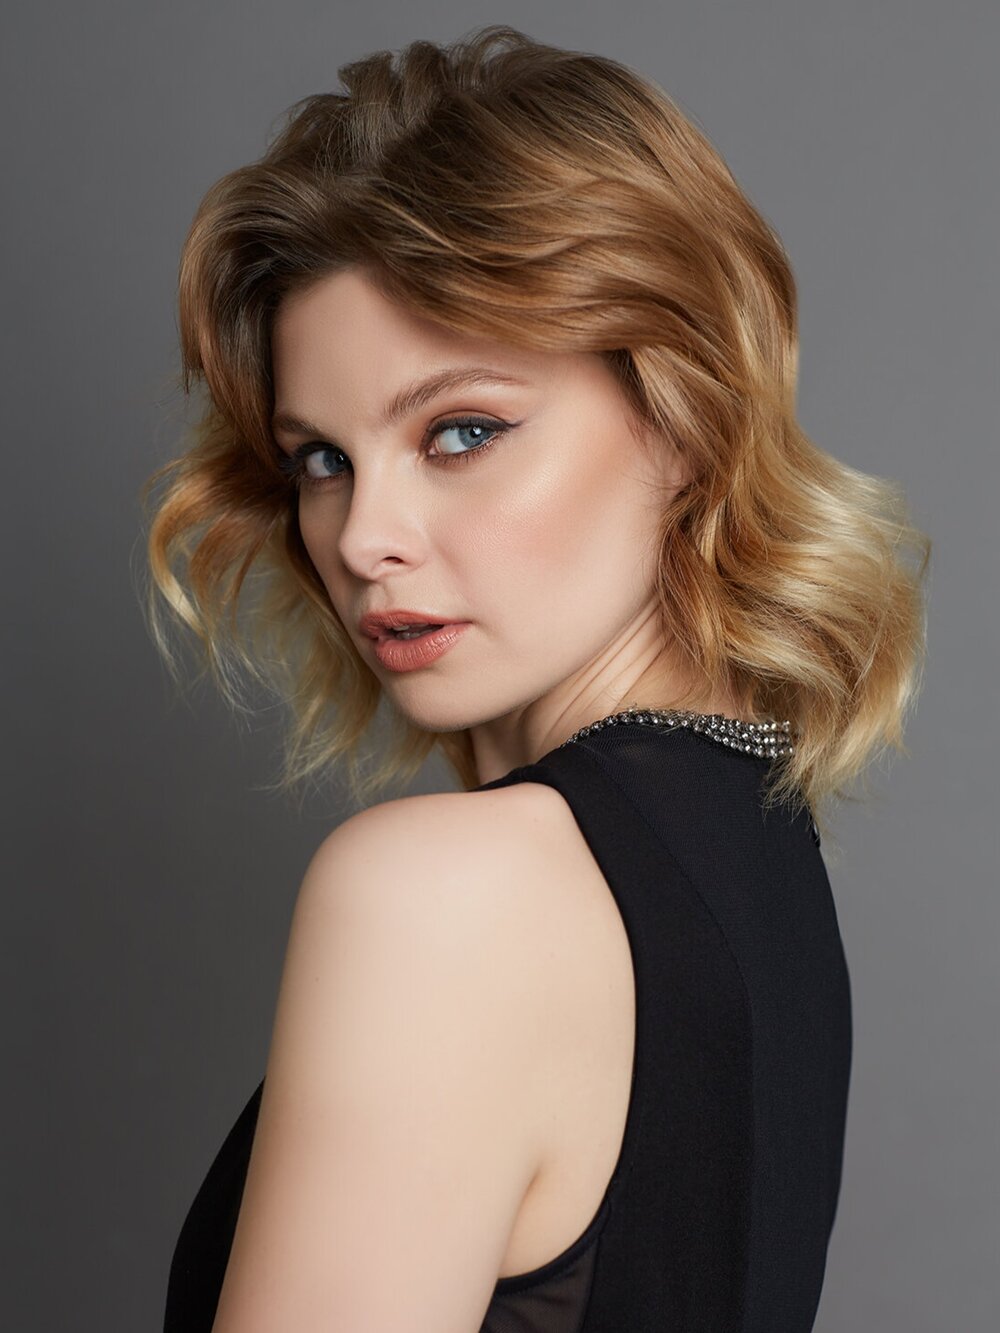
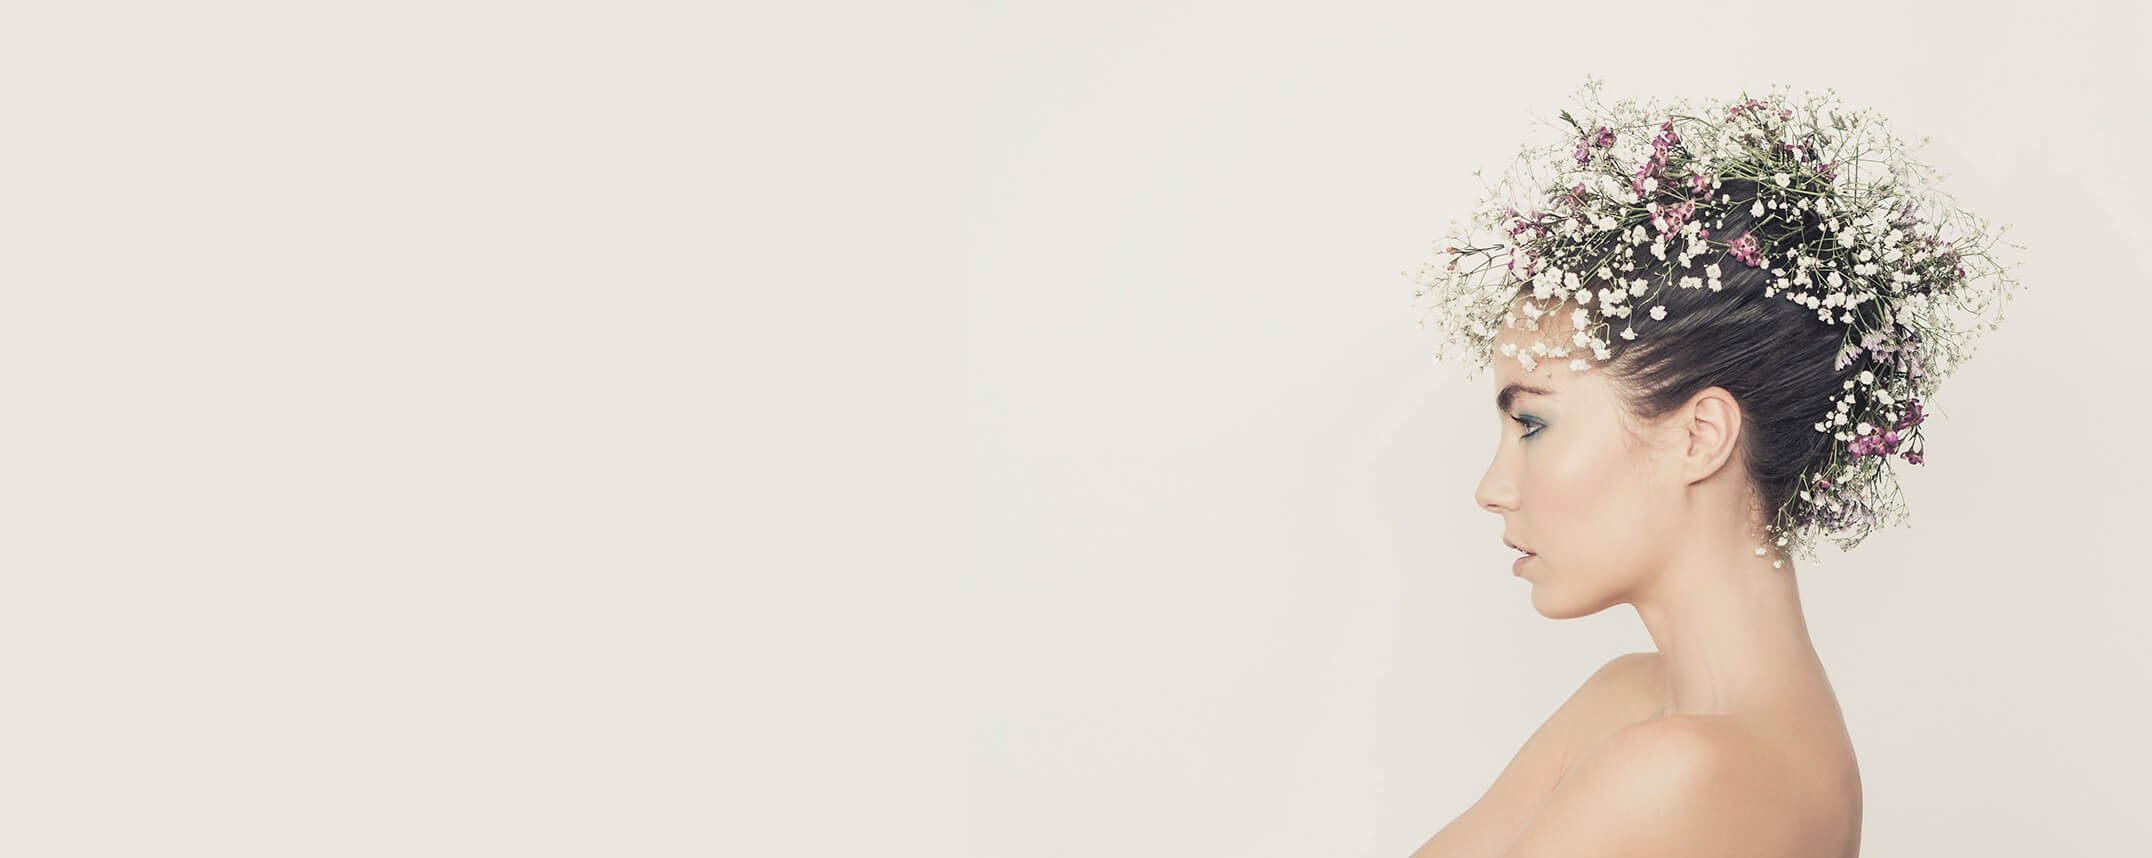
Balayage is one of the most popular hair techniques right now. It’s everywhere, and it’s something we’re constantly asked about – and something we pride ourselves as being experts in. This lower maintenance alternative to a full head of highlights is hugely adaptable depending on your needs and wants, and adds a beautiful multi-tonal and multidimensional colour by using patches of light and shade.
So, we know how popular balayage is – but where did it come from and how did its existence grace it’s way in to such a popular position? Let’s take a look at the history.
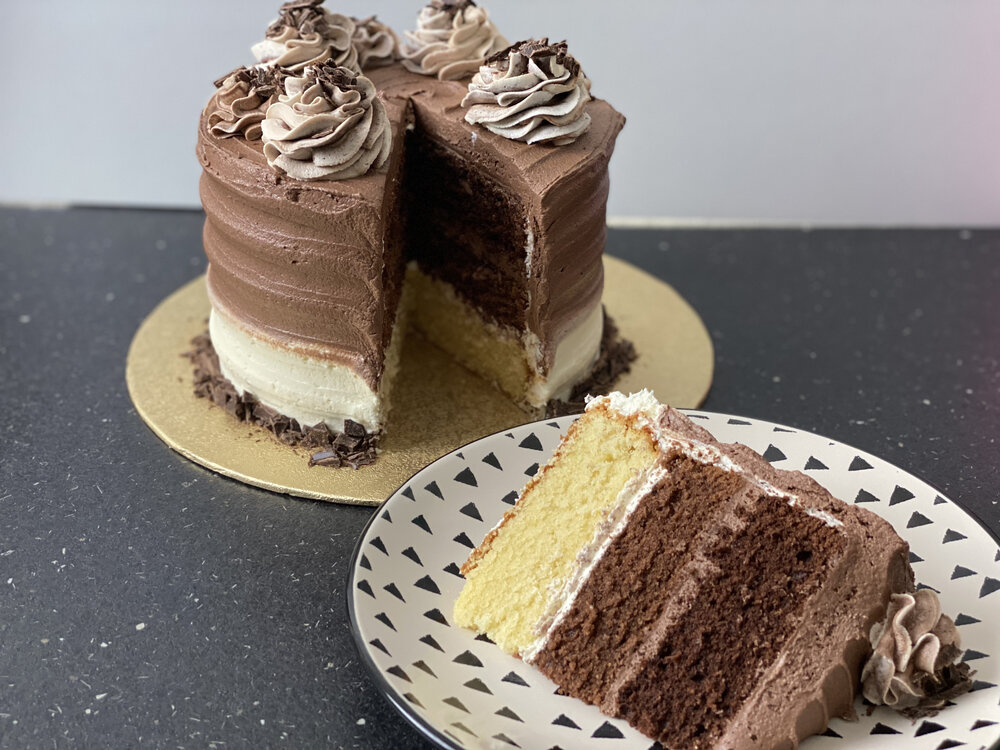
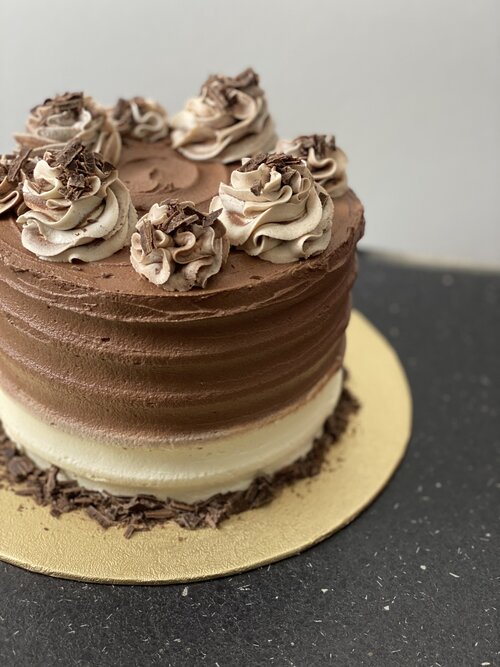
Oh, and we’ve also teamed up with the awesome Bryony (you will have seen her on Great British Bake Off) to give you a recipe for a decadent ombre cake – try it, we promise you won’t regret it!
A brief look at the history
Dip dye
Dip dye – oh yeah, remember that one? You may be wincing a little as you reminisce on the dip dye trend and the home job you may have once attempted. This literal line was all the rage back in 2012 and was the start of what we know call balayage. While there has been natural progression of the style, it doesn’t mean there isn’t still a time and a place for a vivid shade of dip dye to create a high impact statement!
Dip dye is where it all began – the sold line of high contrast colour which gives the effect that you have dipped your hair in to hair dye (it does what it says on the tin this one!). The ratio of dip is completely down to the individual can just be the tips or can be half of your hair.
Ombre (the fade)
Dip dye quickly evolved in to Ombre which literally mean ‘graduated in tone’. Ombre is all about keeping the roots dark and ends light but with a much softer blend than dip dye. The result is often Ombre will look like three shades – dark, medium, light – with each tier diffusing in to the other. This fade usually works best when working off of a similar colour pallete. For example, natural like dark brown, into light brown in to dark blonde. Or also with fashion shades like red, into orange, into yellow. When it comes to executing a dazzling ombre we start by determining the darkest and lightest shades, and then finding something that sits right in the middle and complements the overall tone perfectly!
Natural Fade Ombre
The natural fade ombre draws on large similarities from the classic ombre where all the ends are lightened with a soft blend from dark into the lighter tones. The more natural fade ombre was conceived when we started to experiment with adding different tones through the ends while also keeping the top section of the hair darker. This was beginning of soft, dual tone, multidimension colour that wasn’t created using highlights. We started to use more of a colour melt technique to incorporate the combination of different tones – this effectively means blending a darker base colour down from the routes into 2, 3 or even 4 different panels of colour through the ends. The resulting overall effect is still a darker top and lighter ends, but with a much softer feel than a classic ombre.
Balayage
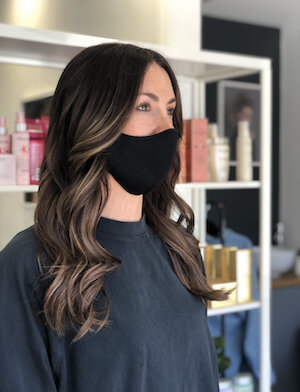
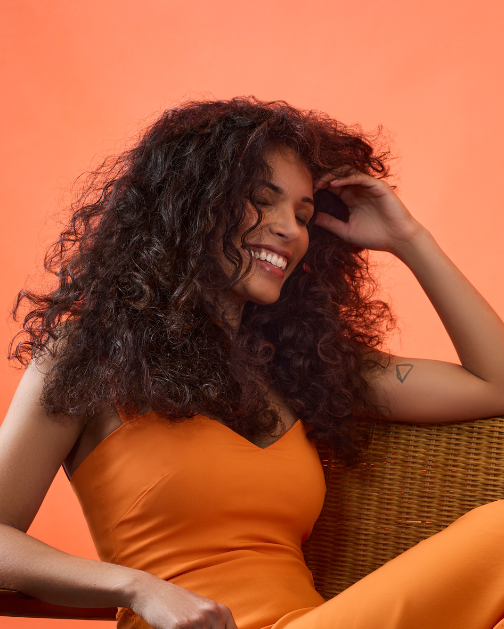
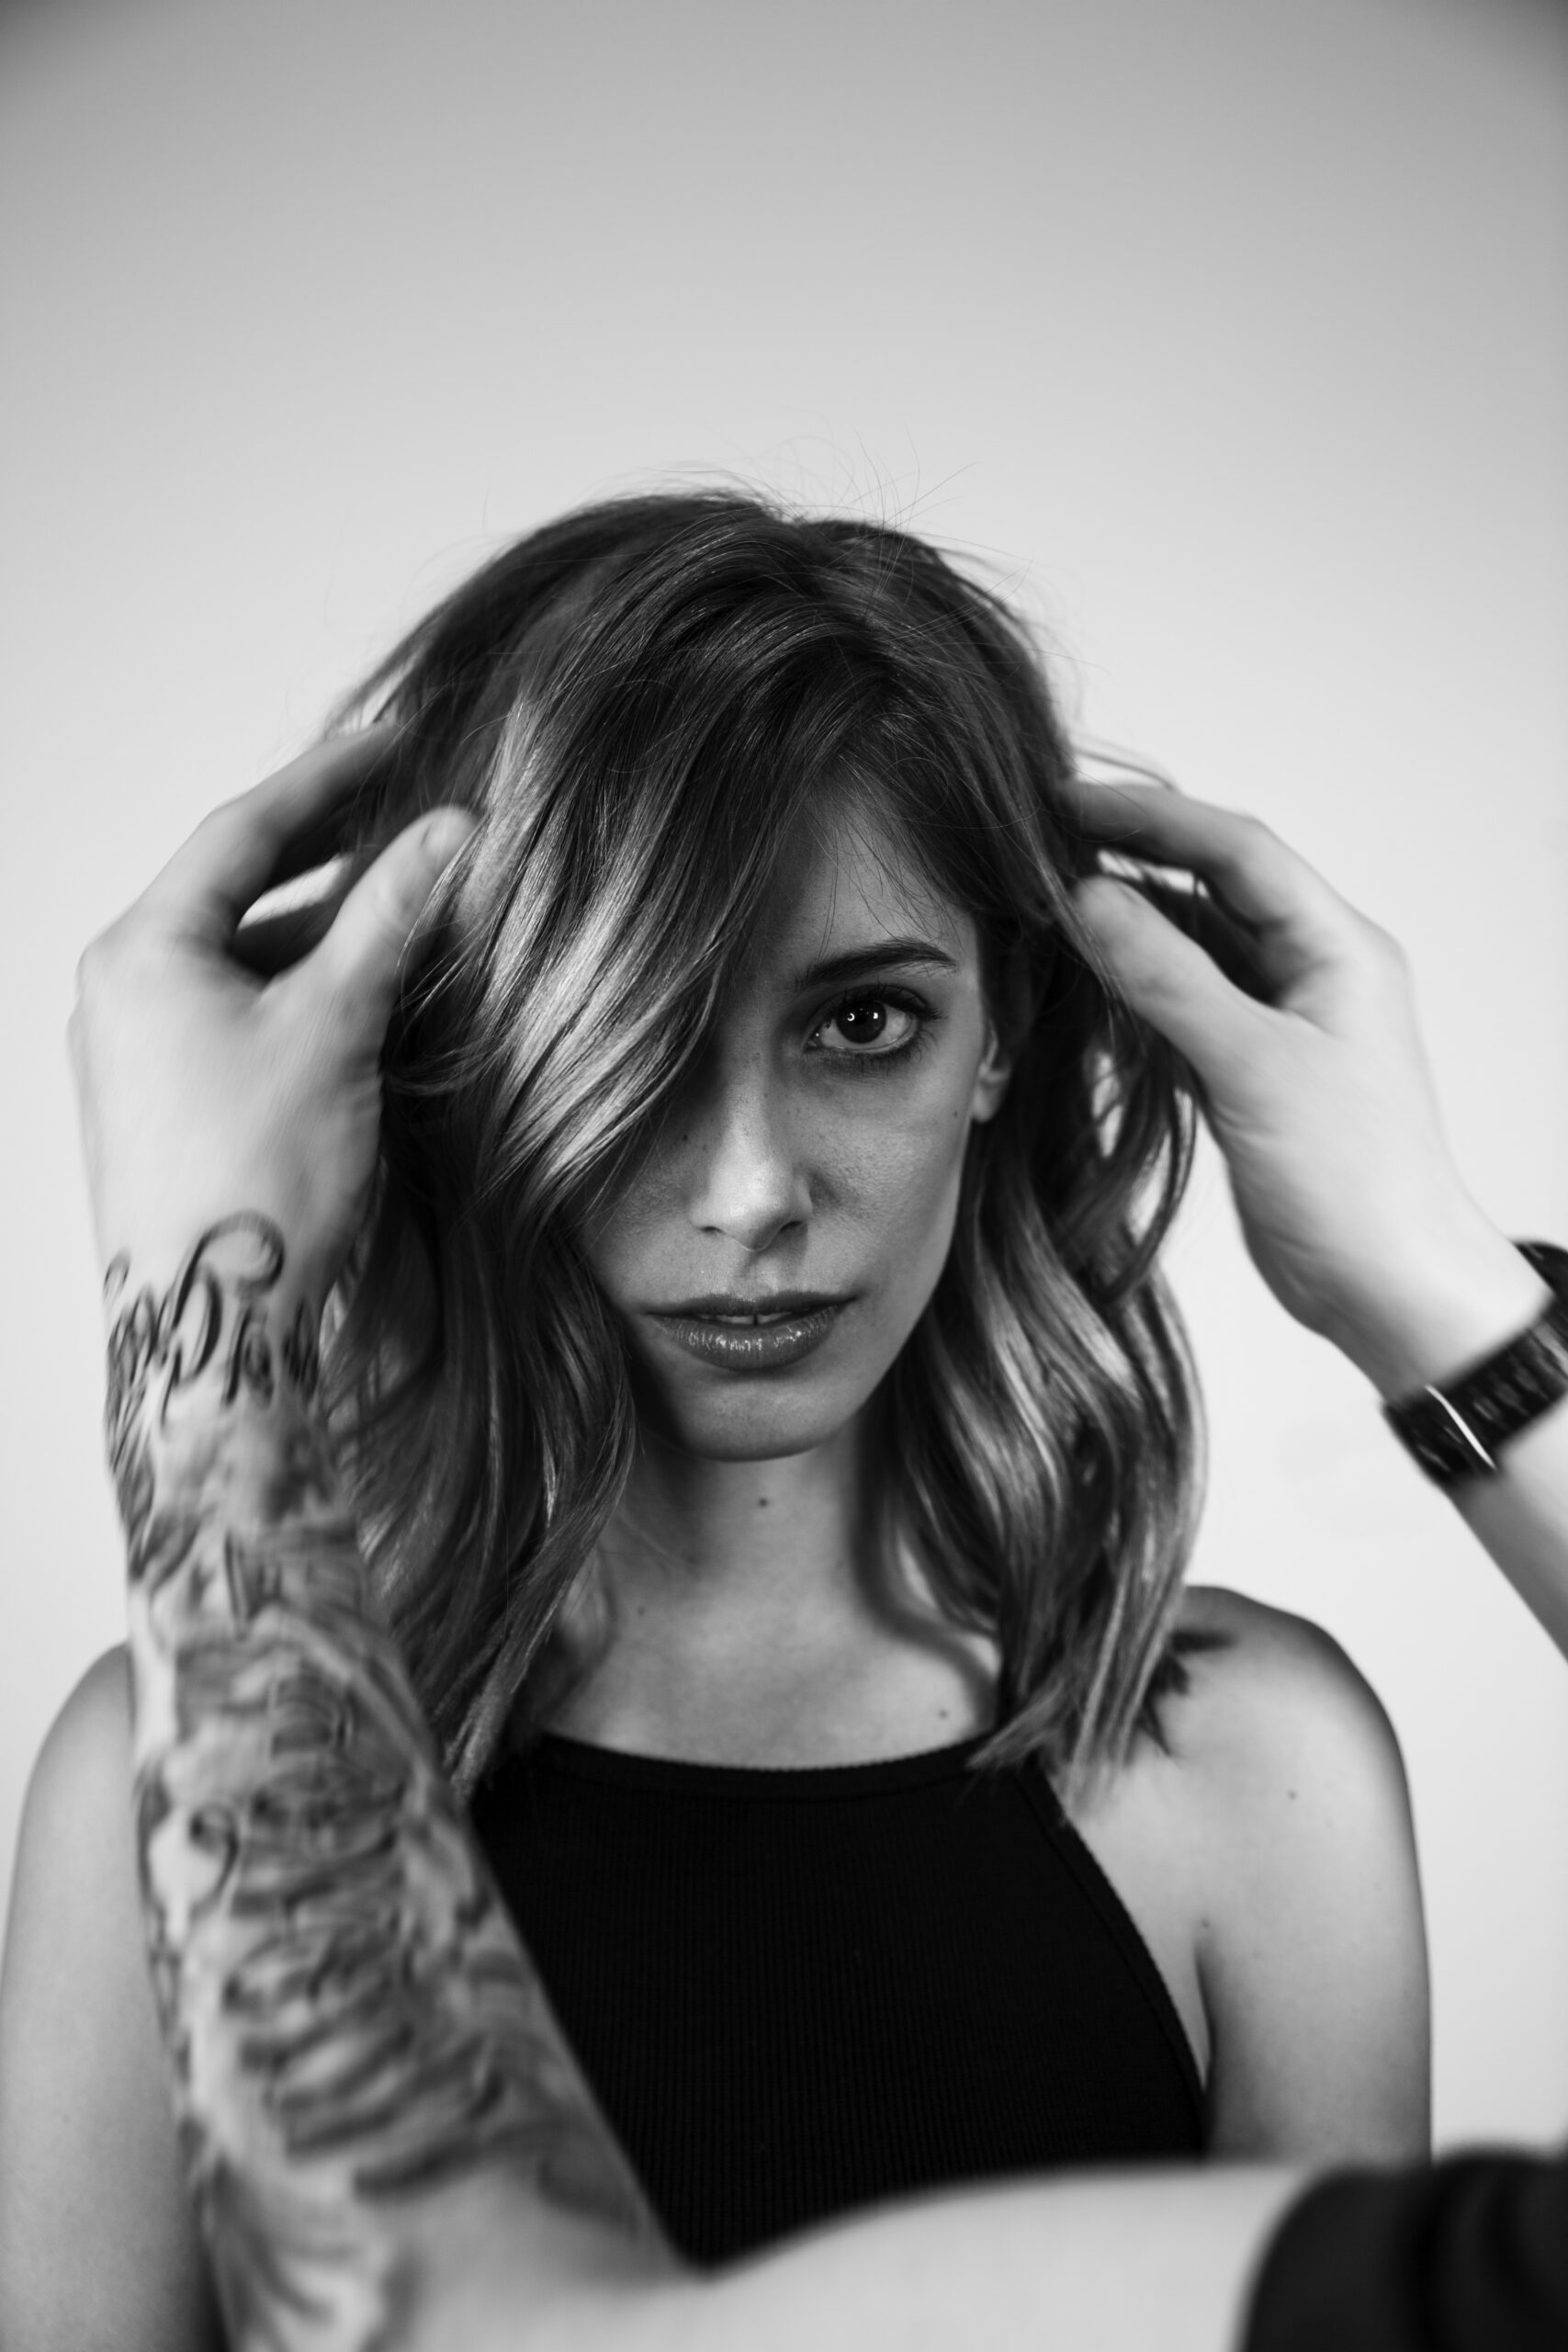
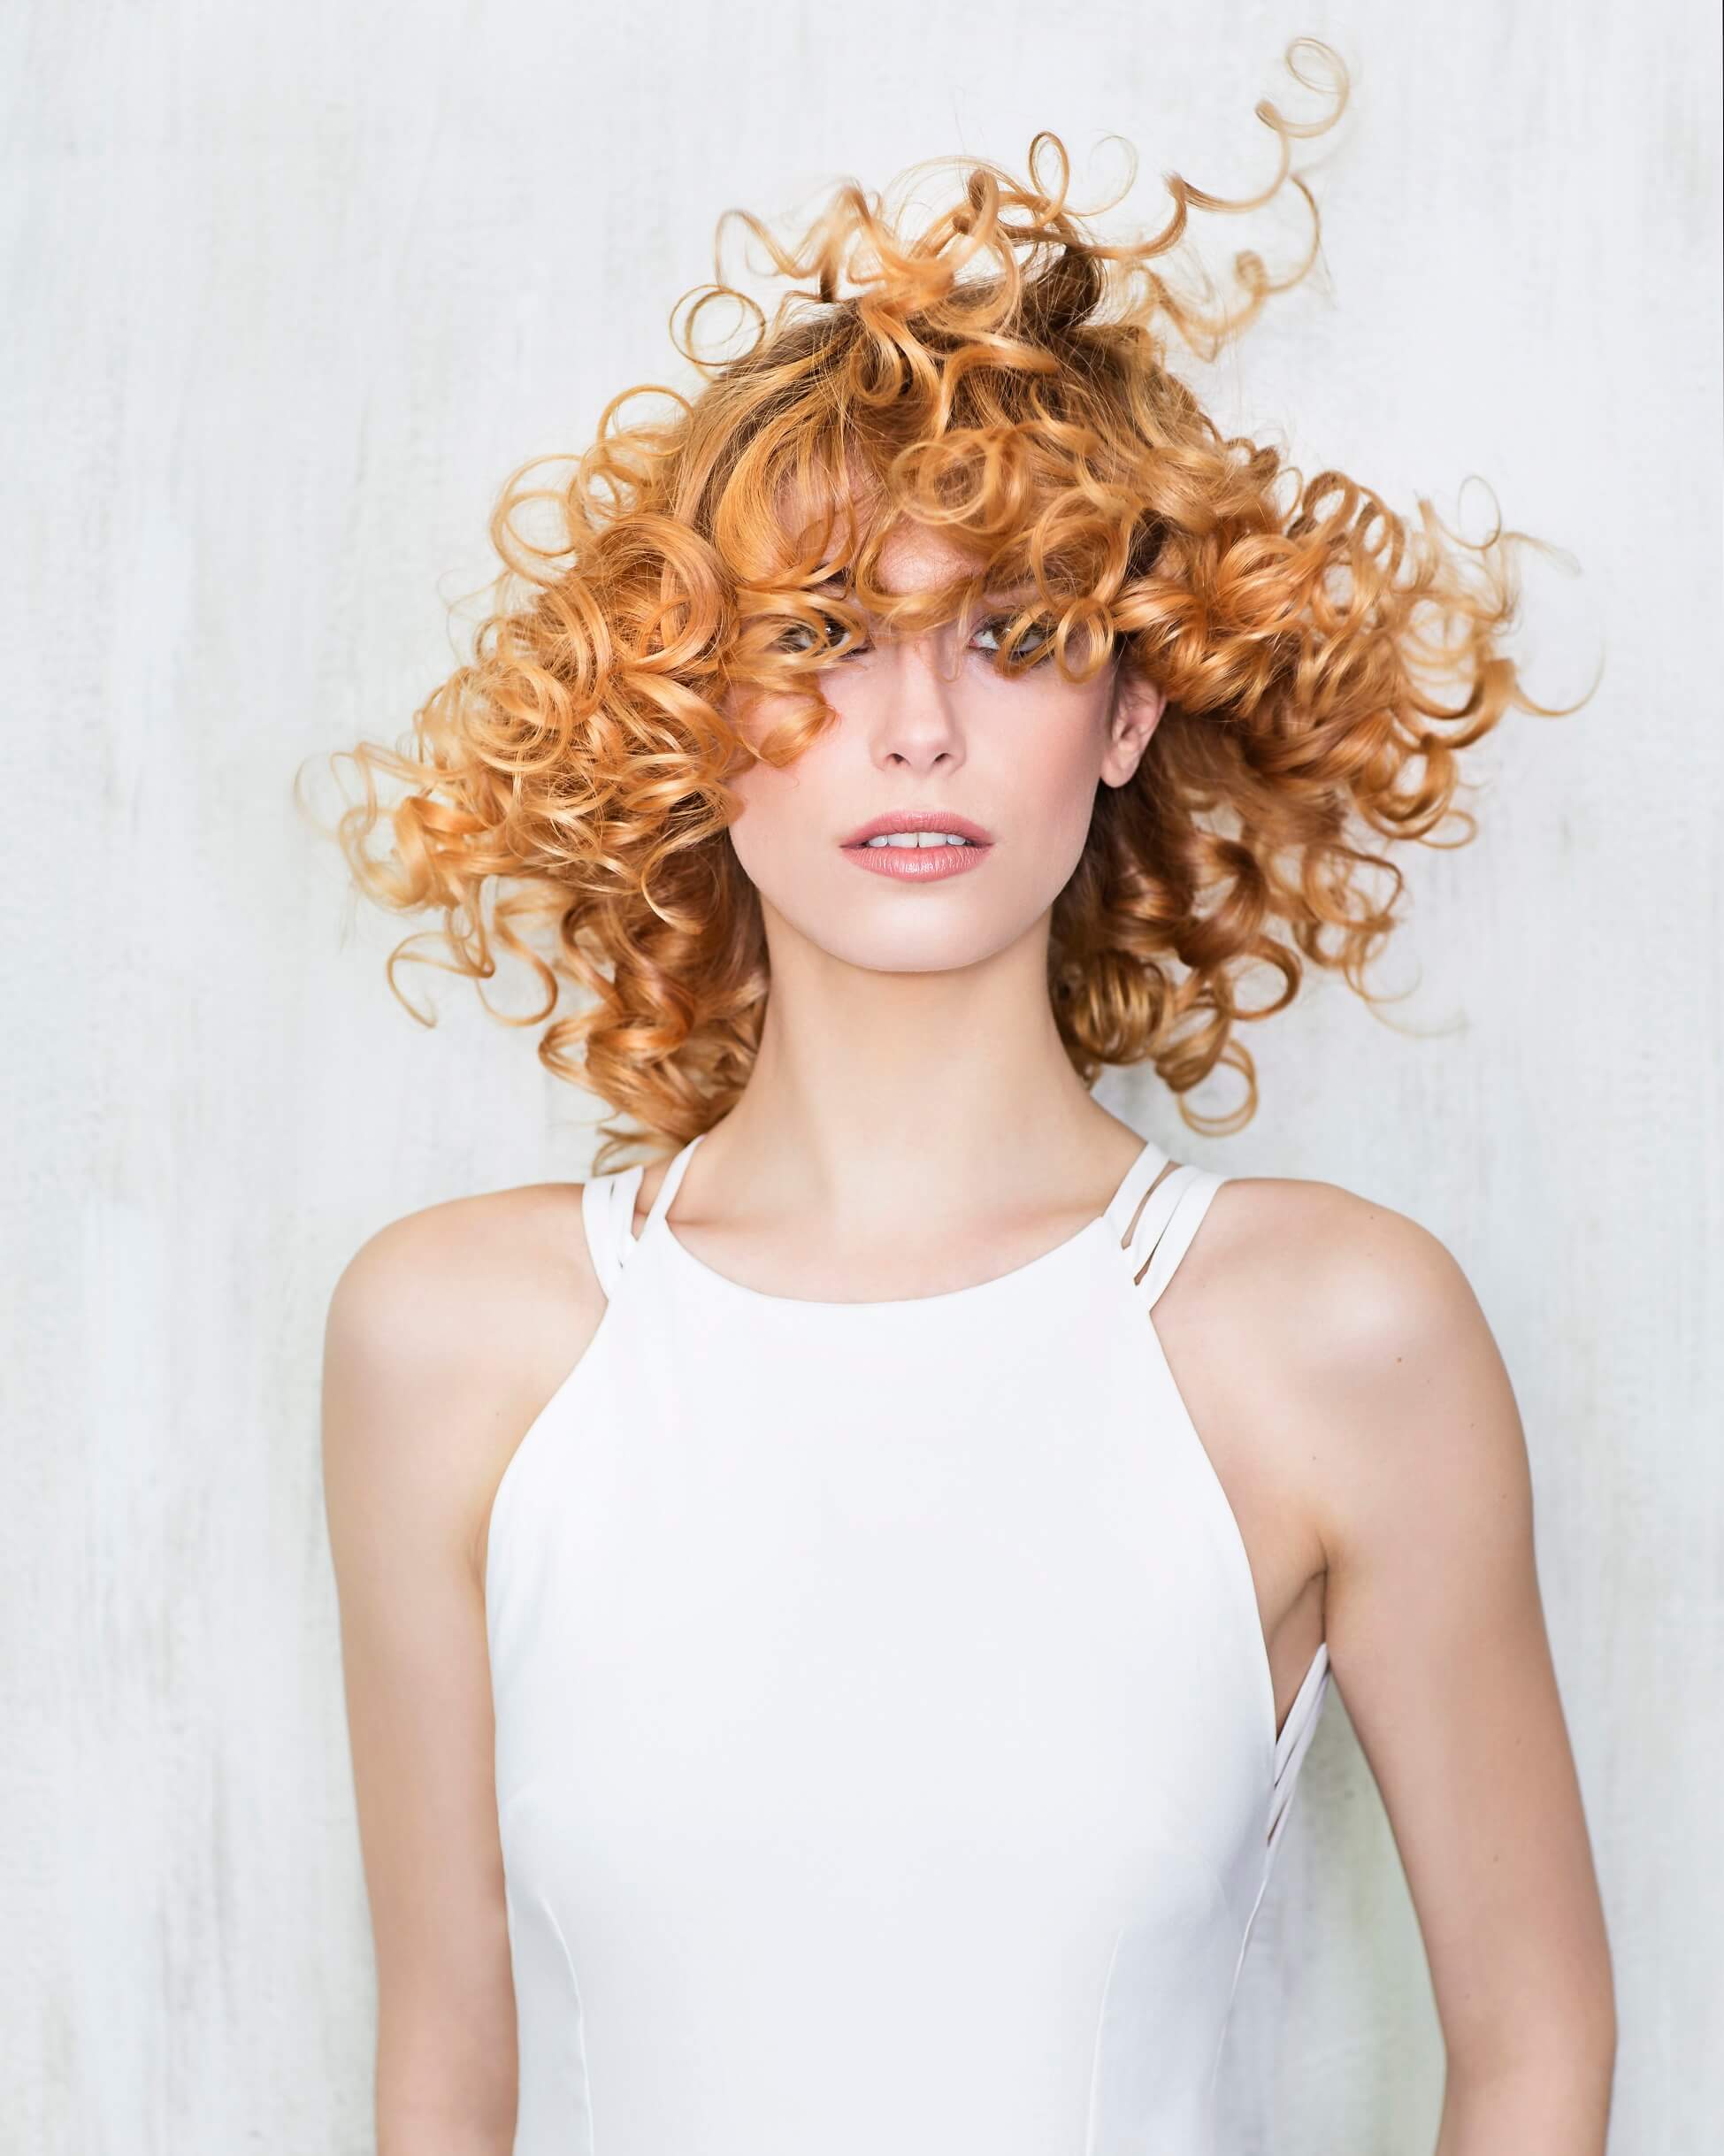
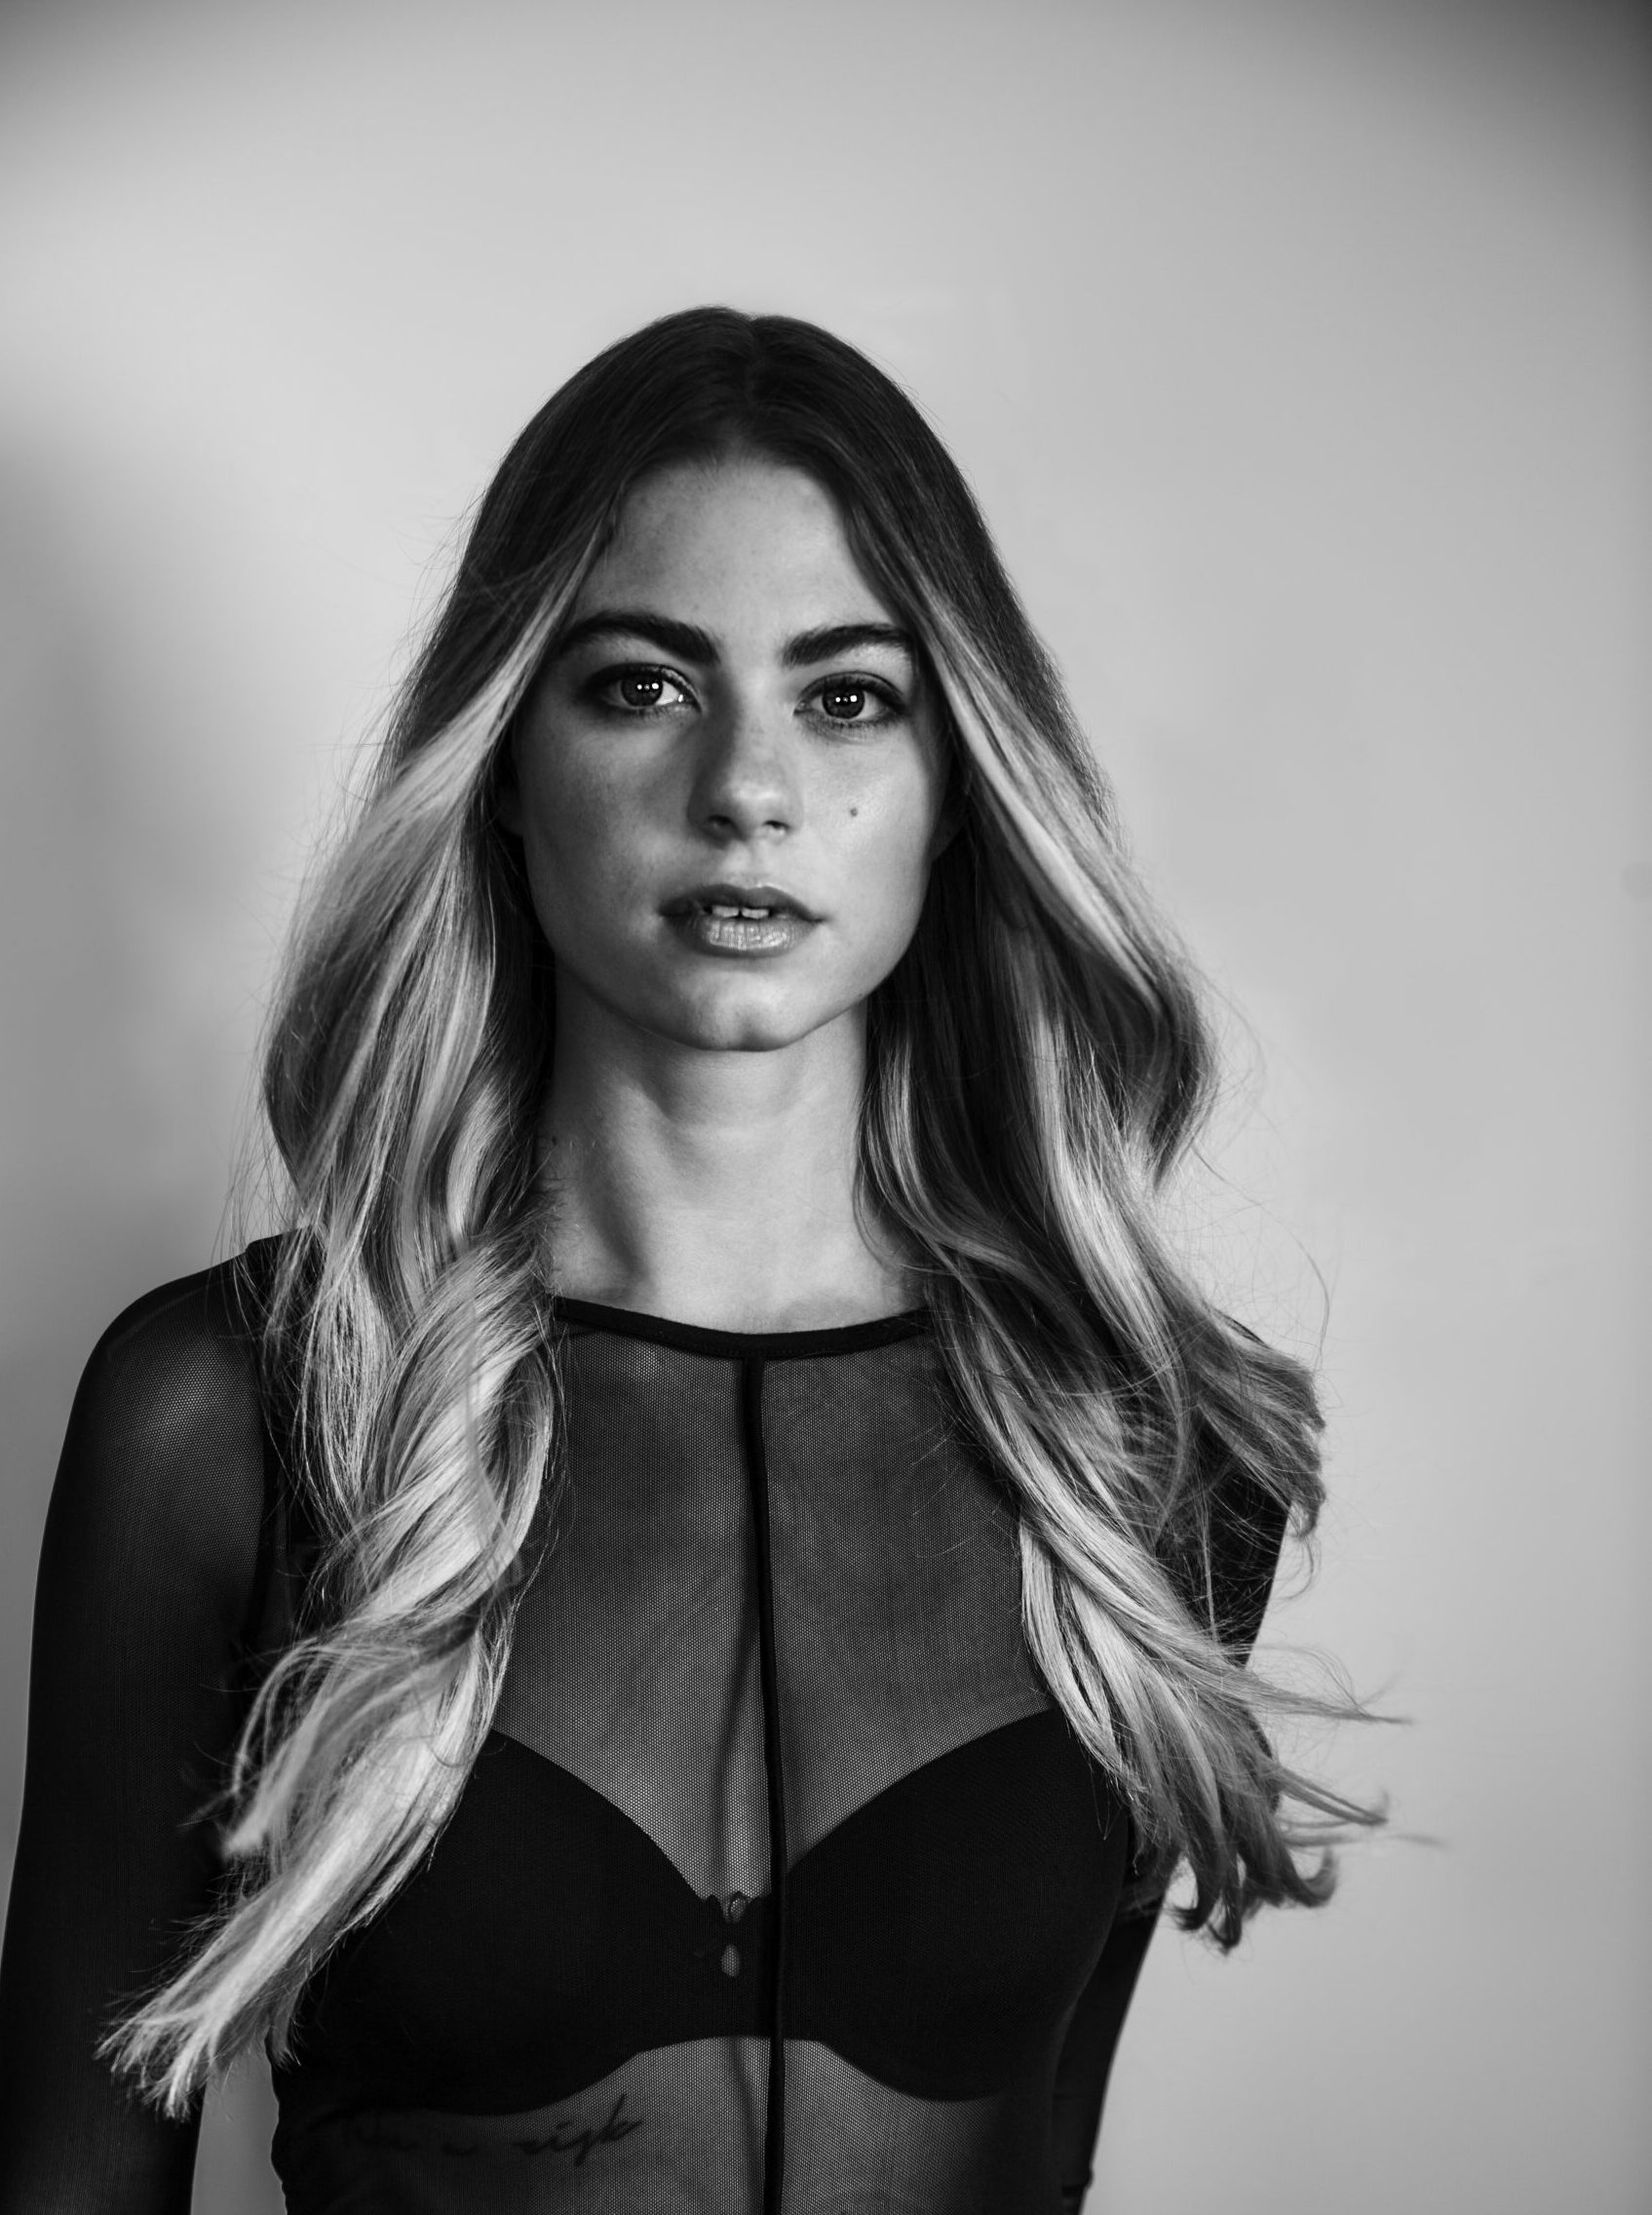
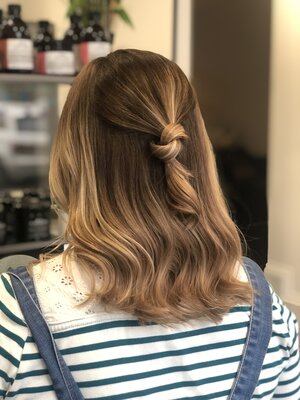
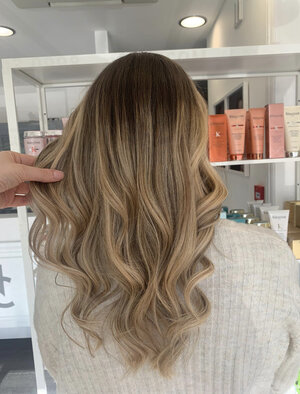
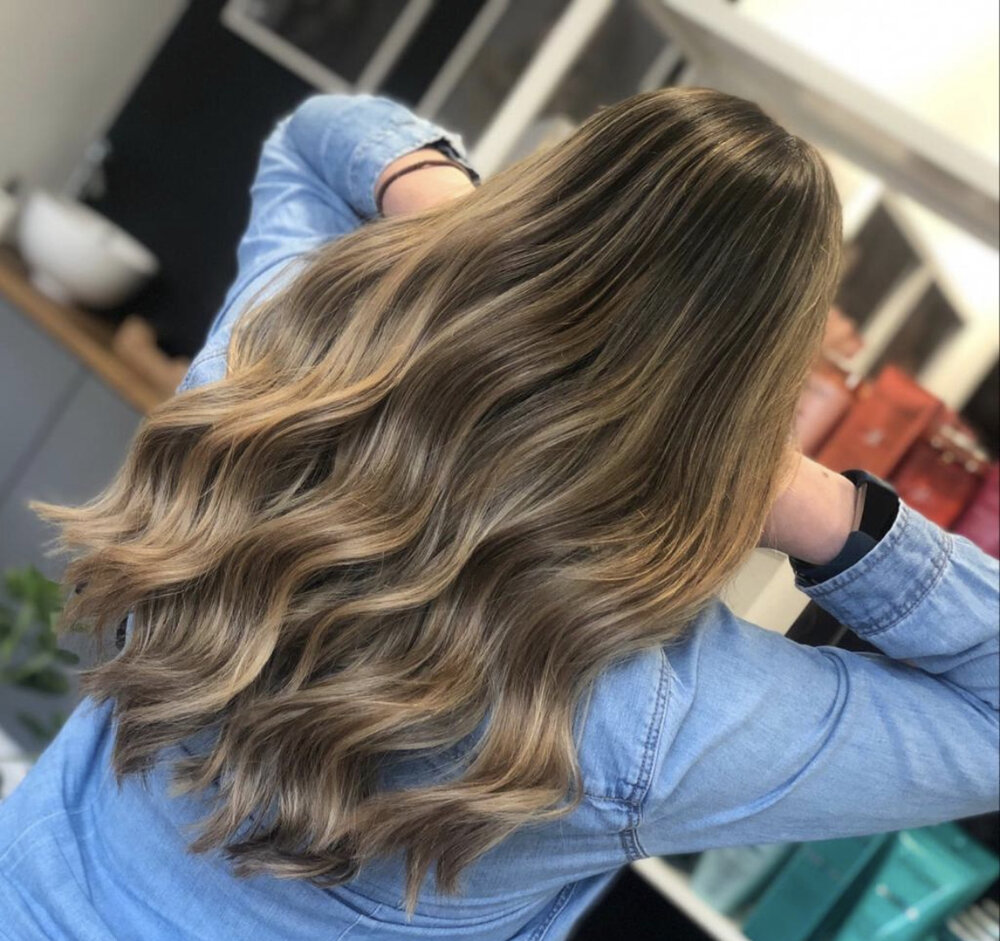
From the natural fade ombre, evolved balayage. Keeping those deeper roots ad lighter ends, but with a lot more variation in tone and ribbons of light and depth running all the way through the hair – not just the ends. This technique has evolved hugely over the years and there are now so many variations of the original balayage.
A classic balayage is used to create a soft and sun kissed effect through your hair, concentrating on the ends and around the face where sunlight would naturally hit. Balayage is the French word for ‘sweep’ or ‘stroke’, this refers to the motion which is used to apply the colour, usually pre lightener, to your hair. The result is a delicately diffused, soft and natural colour, blended into the root.
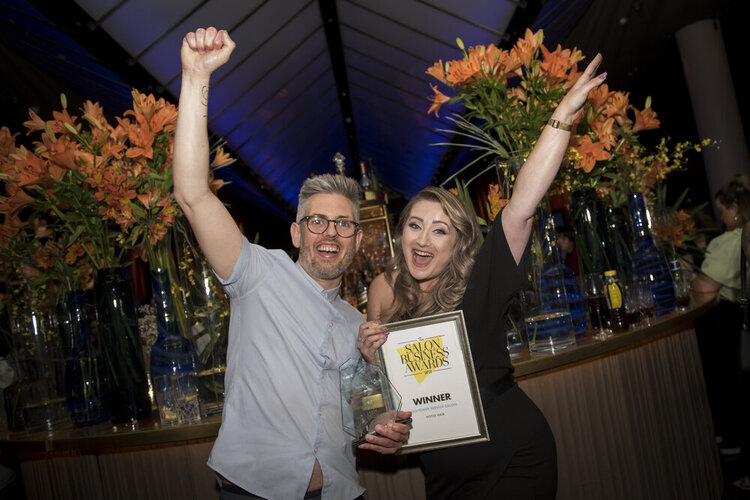
CALL TO BOOK A COMPLIMENTARY CONSULTATION NOW
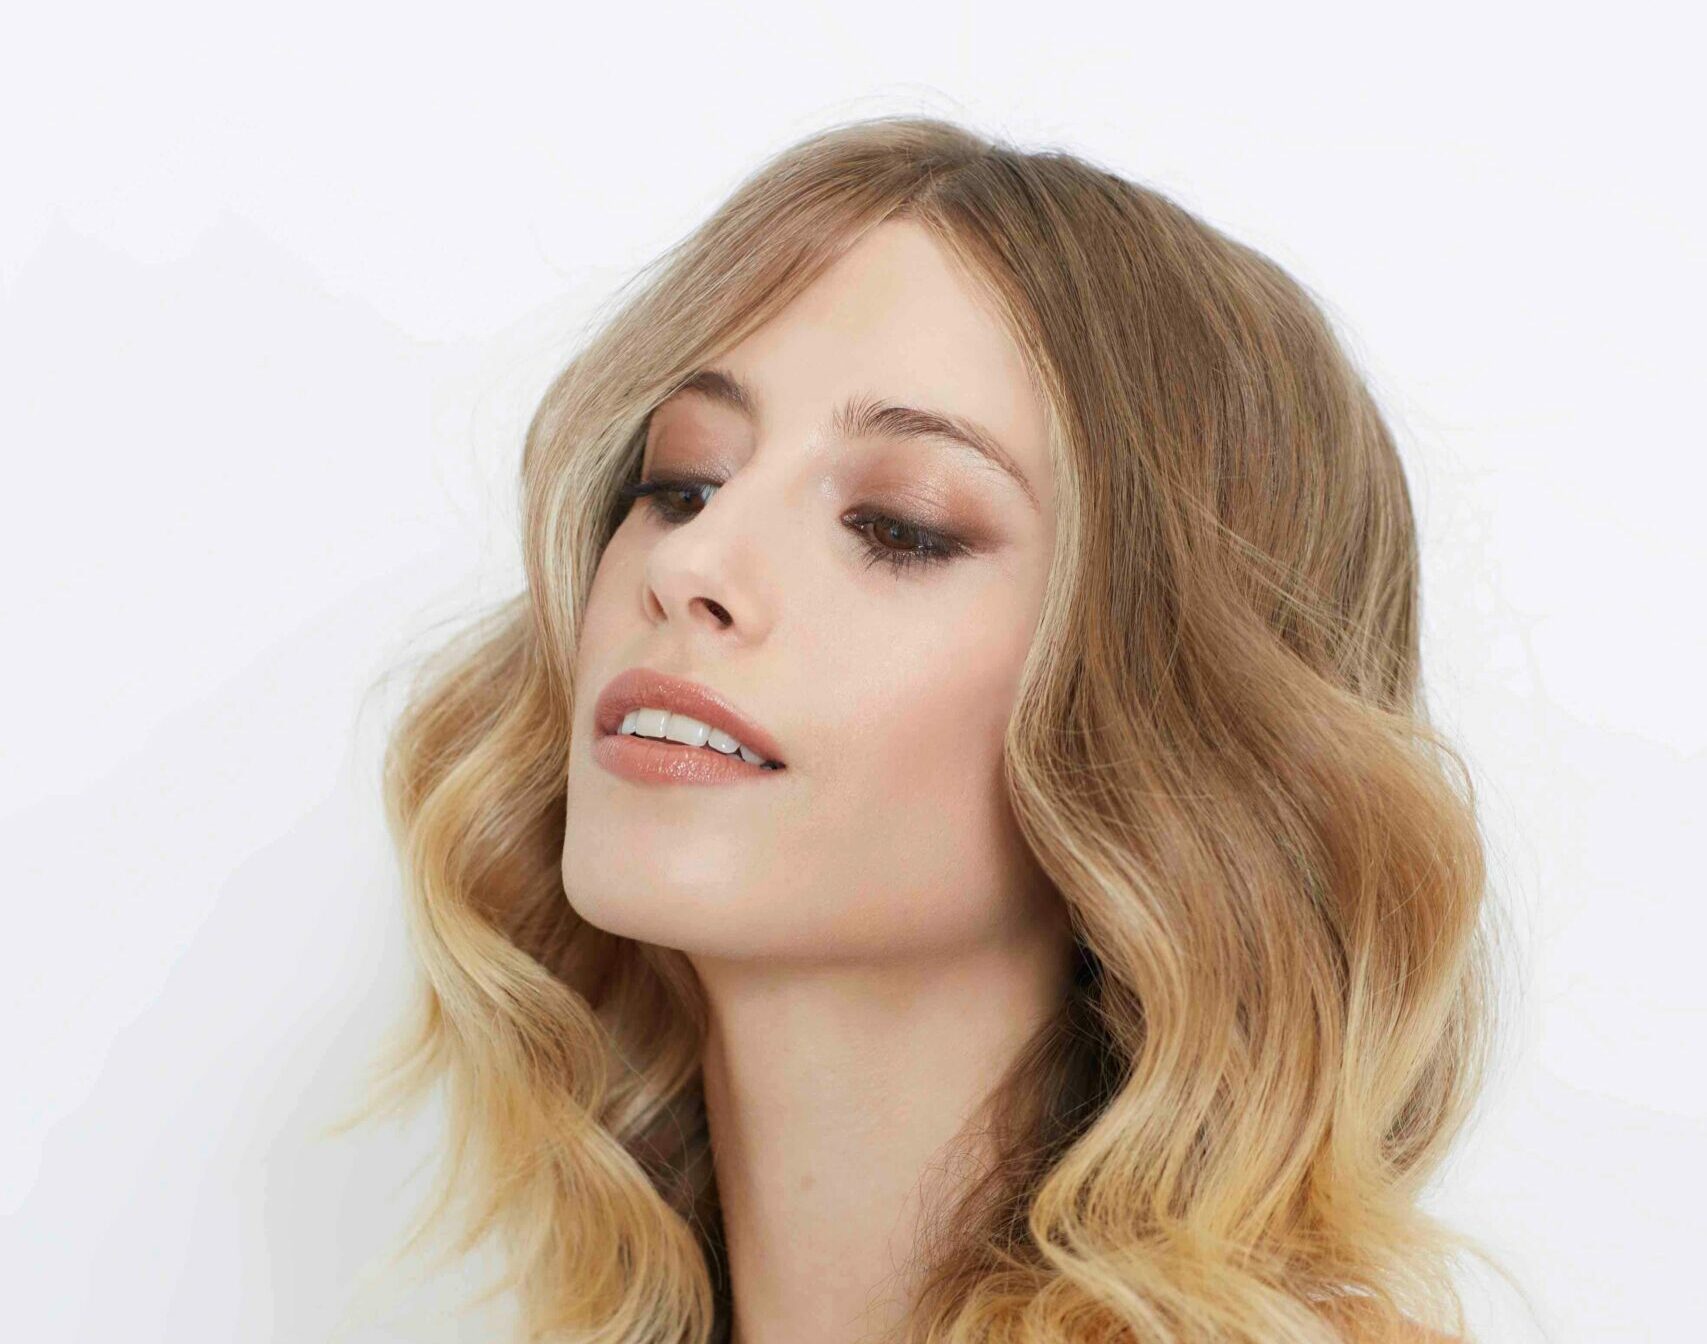
The modern Balayage
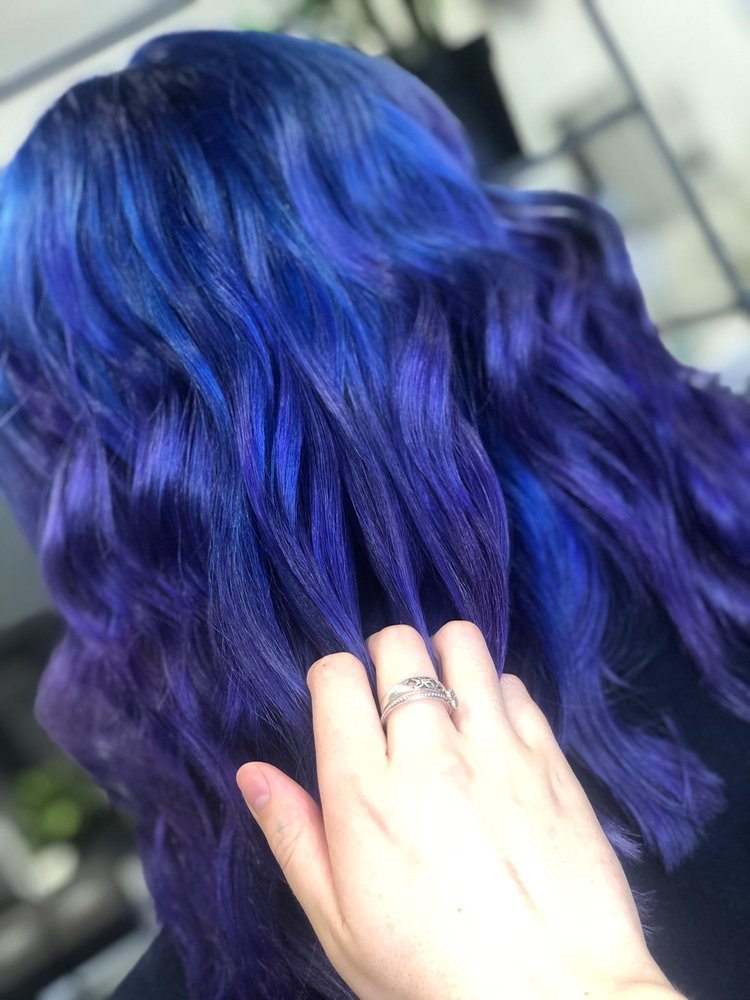
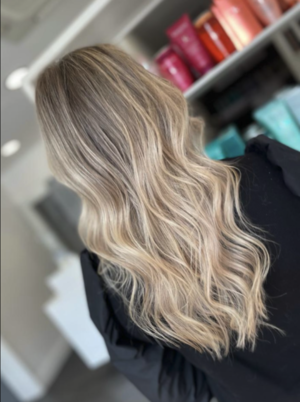
Balayage has now be redefined by us brits and can come from any technique to give a deeper look at the root to a lighter natural finish at the ends. Just a quick Google image search will show you the wide variety of looks which fall under this umbrella style. From soft and natural ‘barely there’ ribbons of colour to high contrast placements. Sometimes we even use a range of different techniques to create a balayage look depending on the canvas we start with and the desired result!
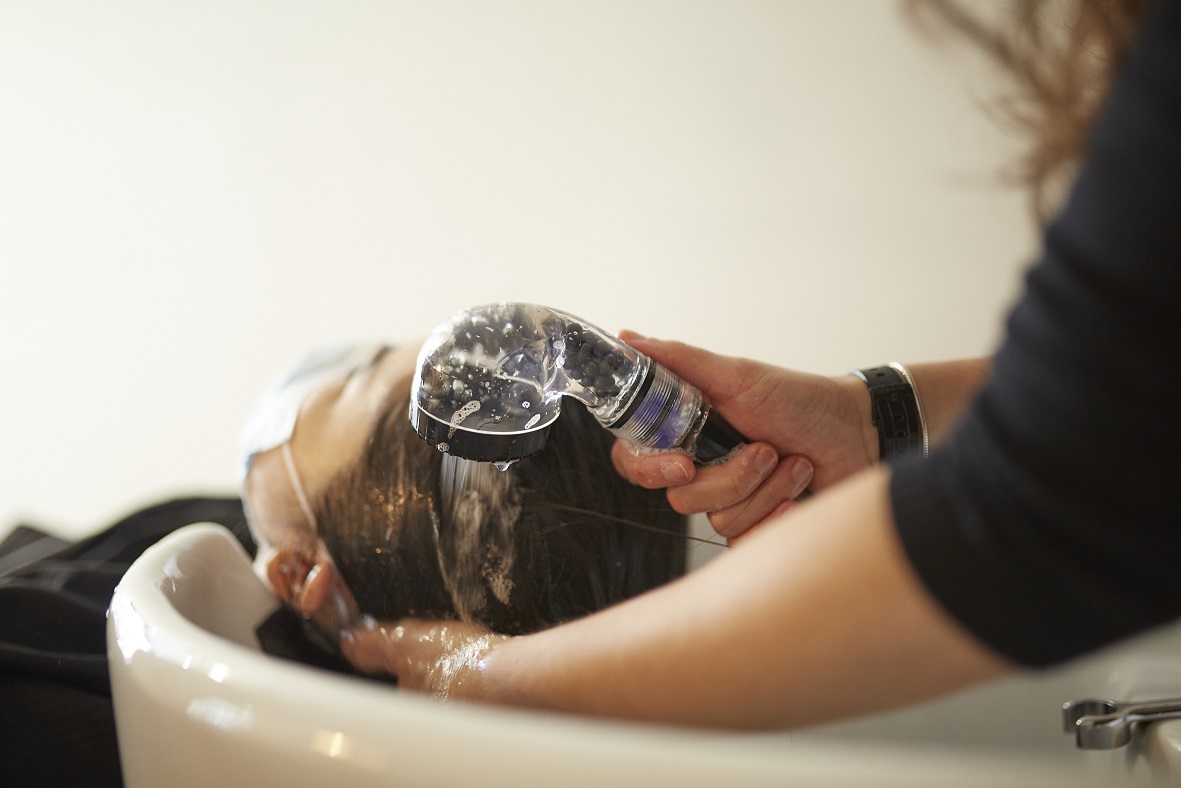
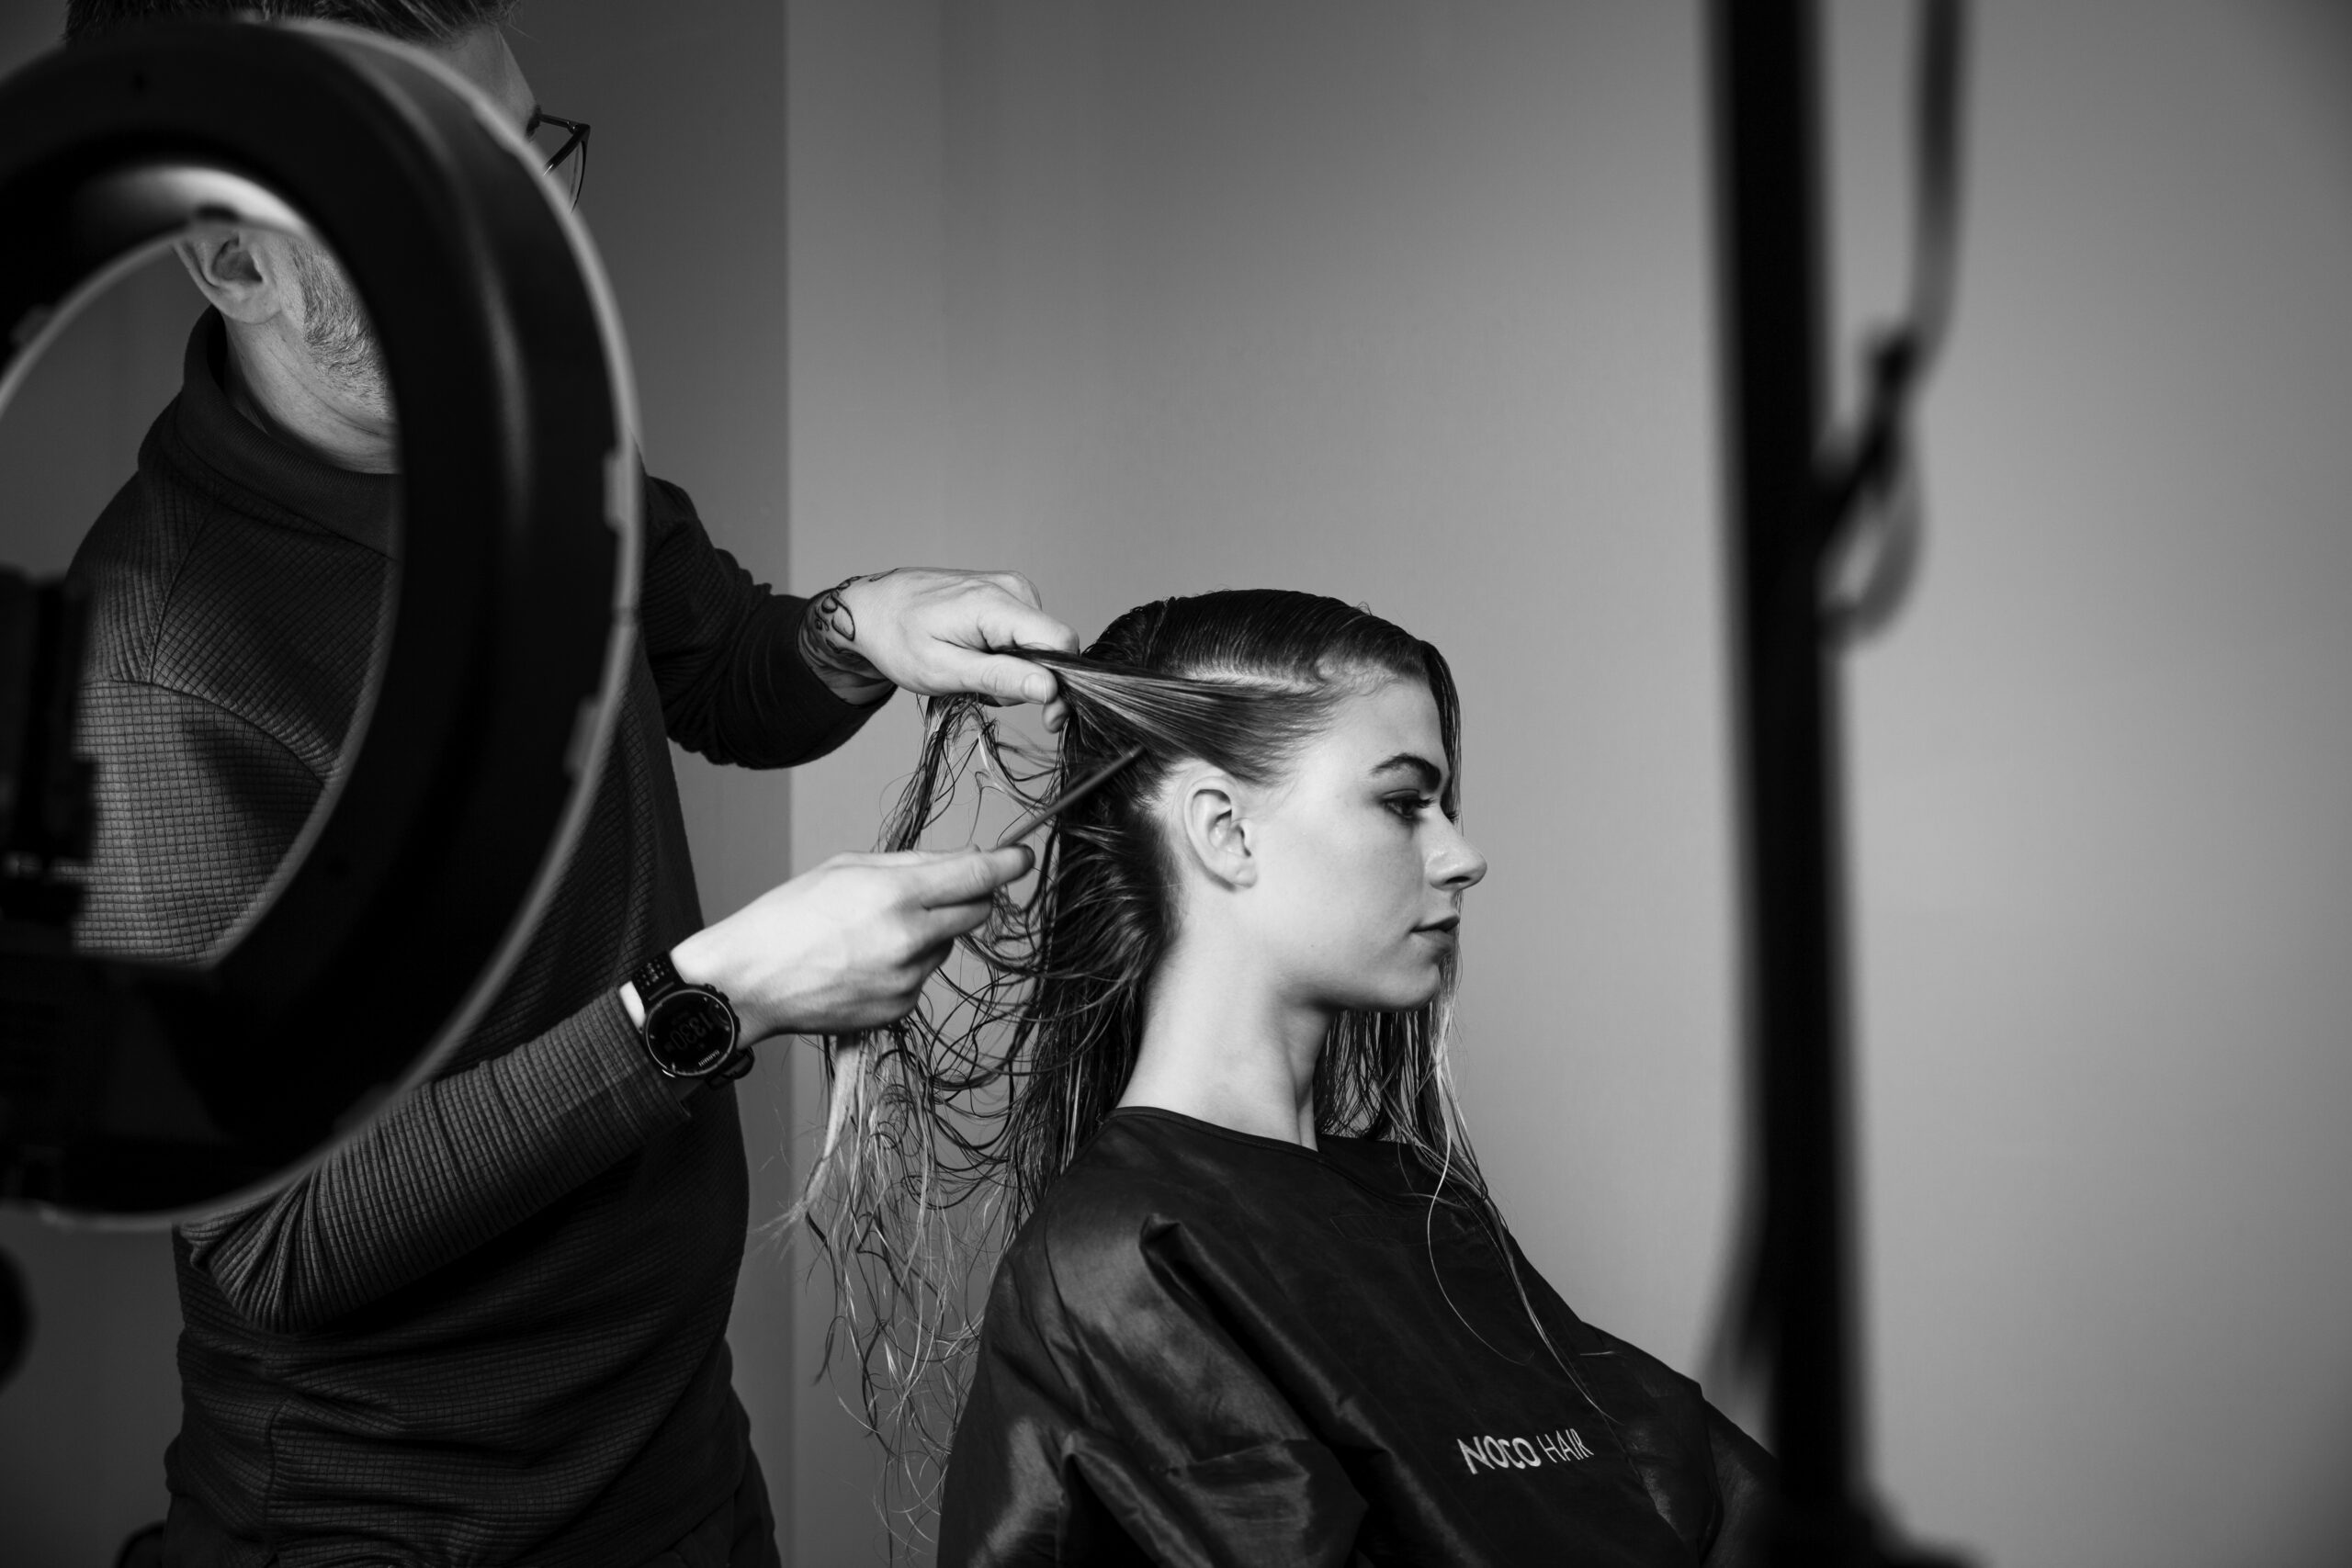
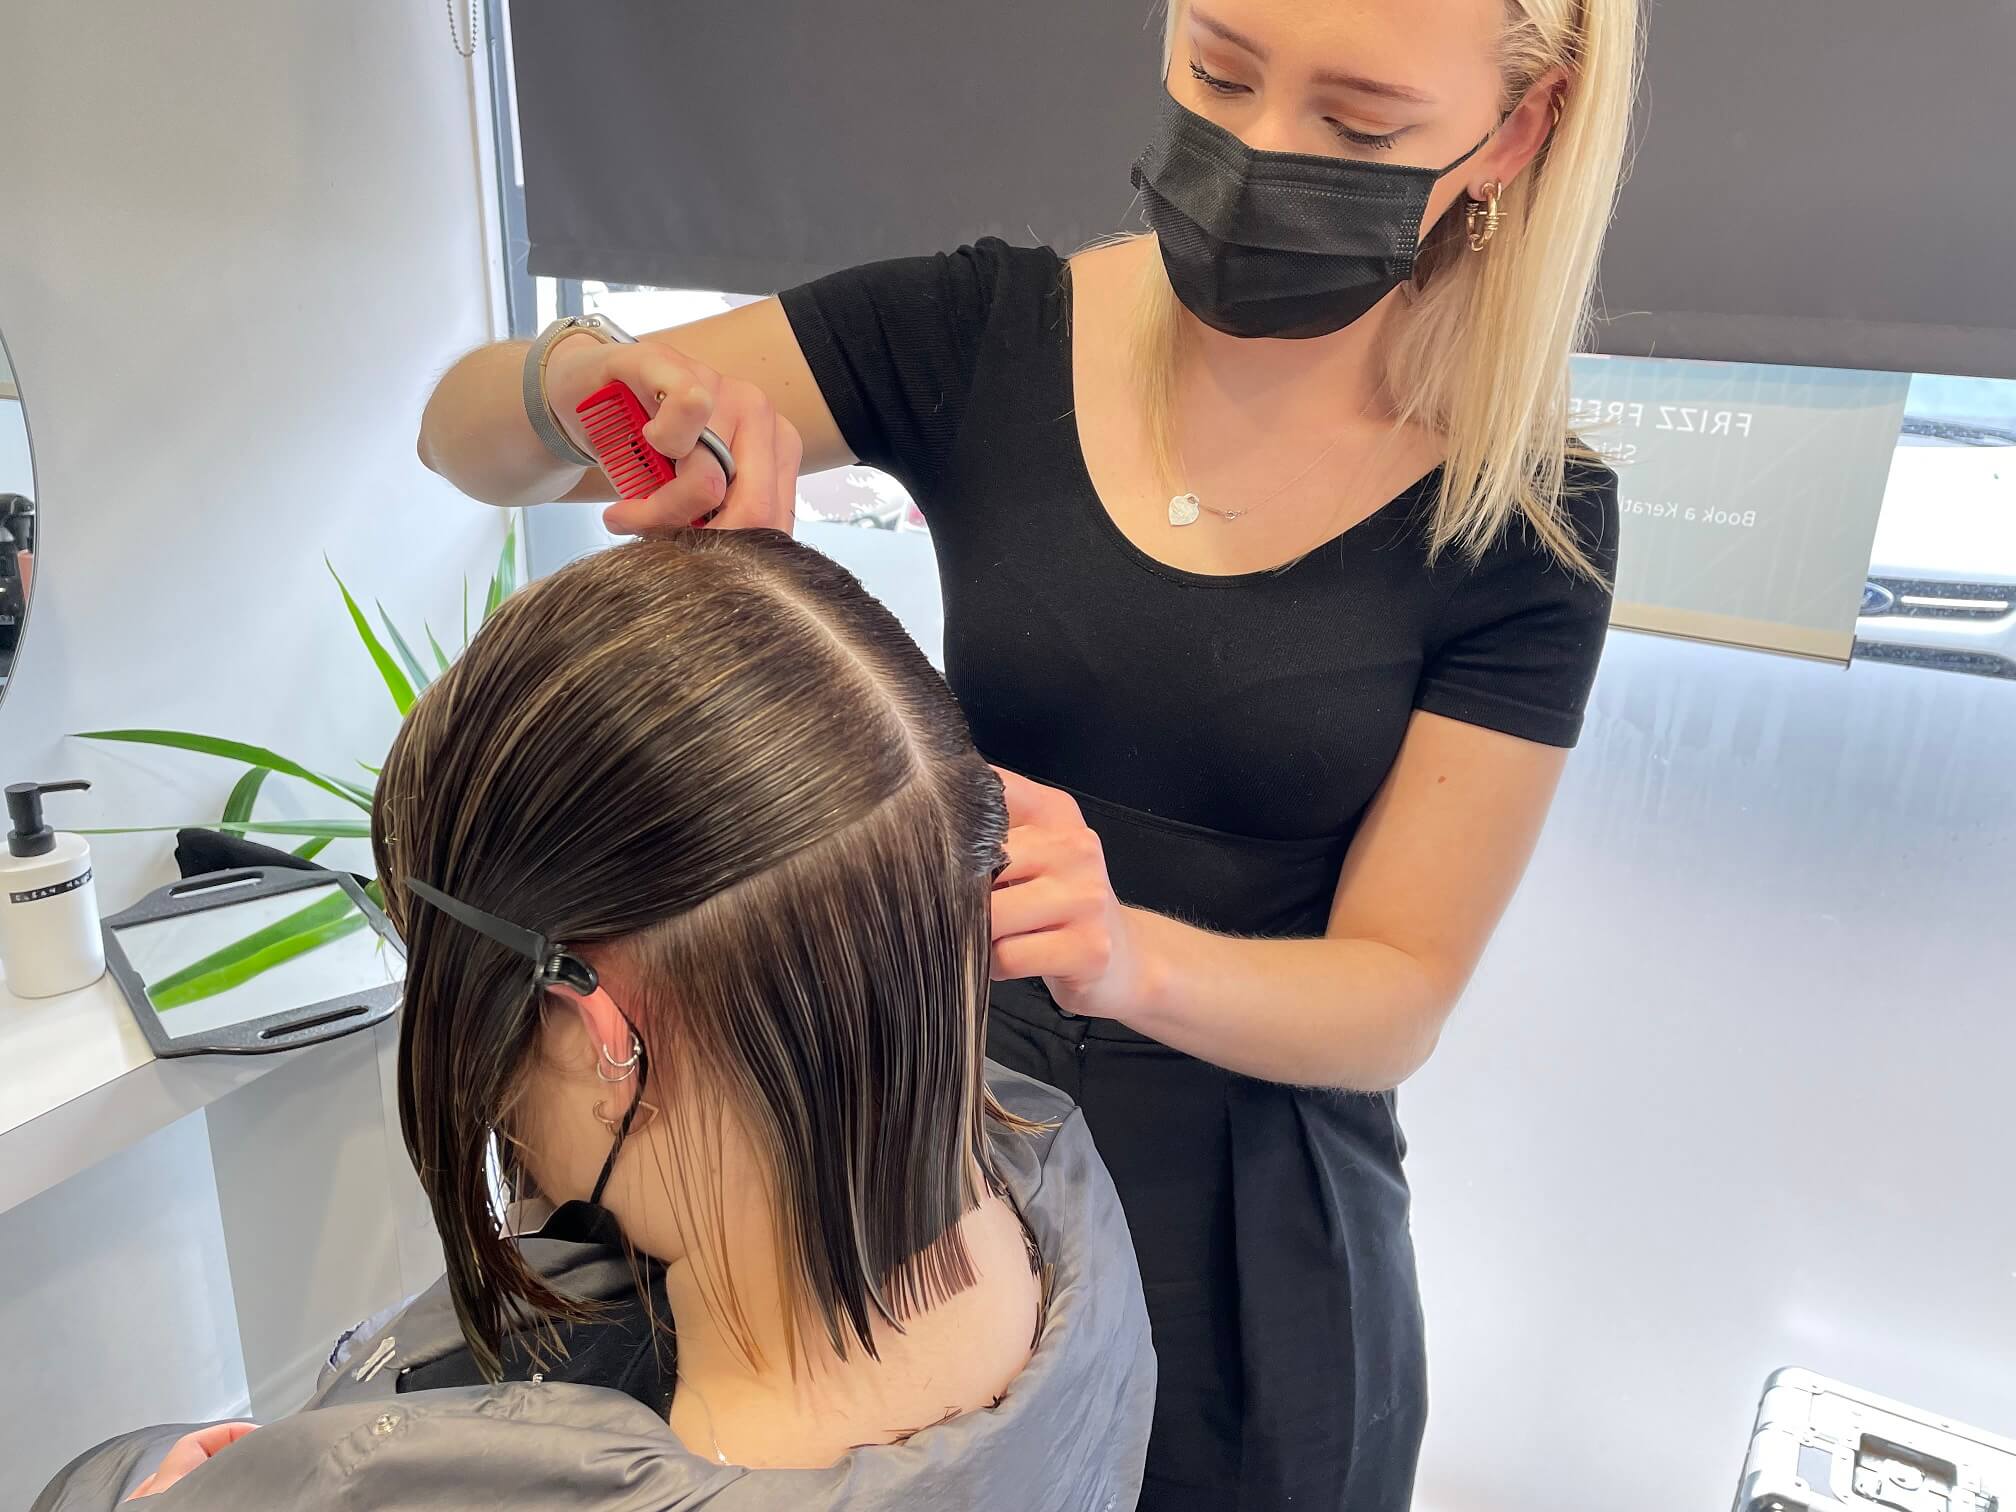
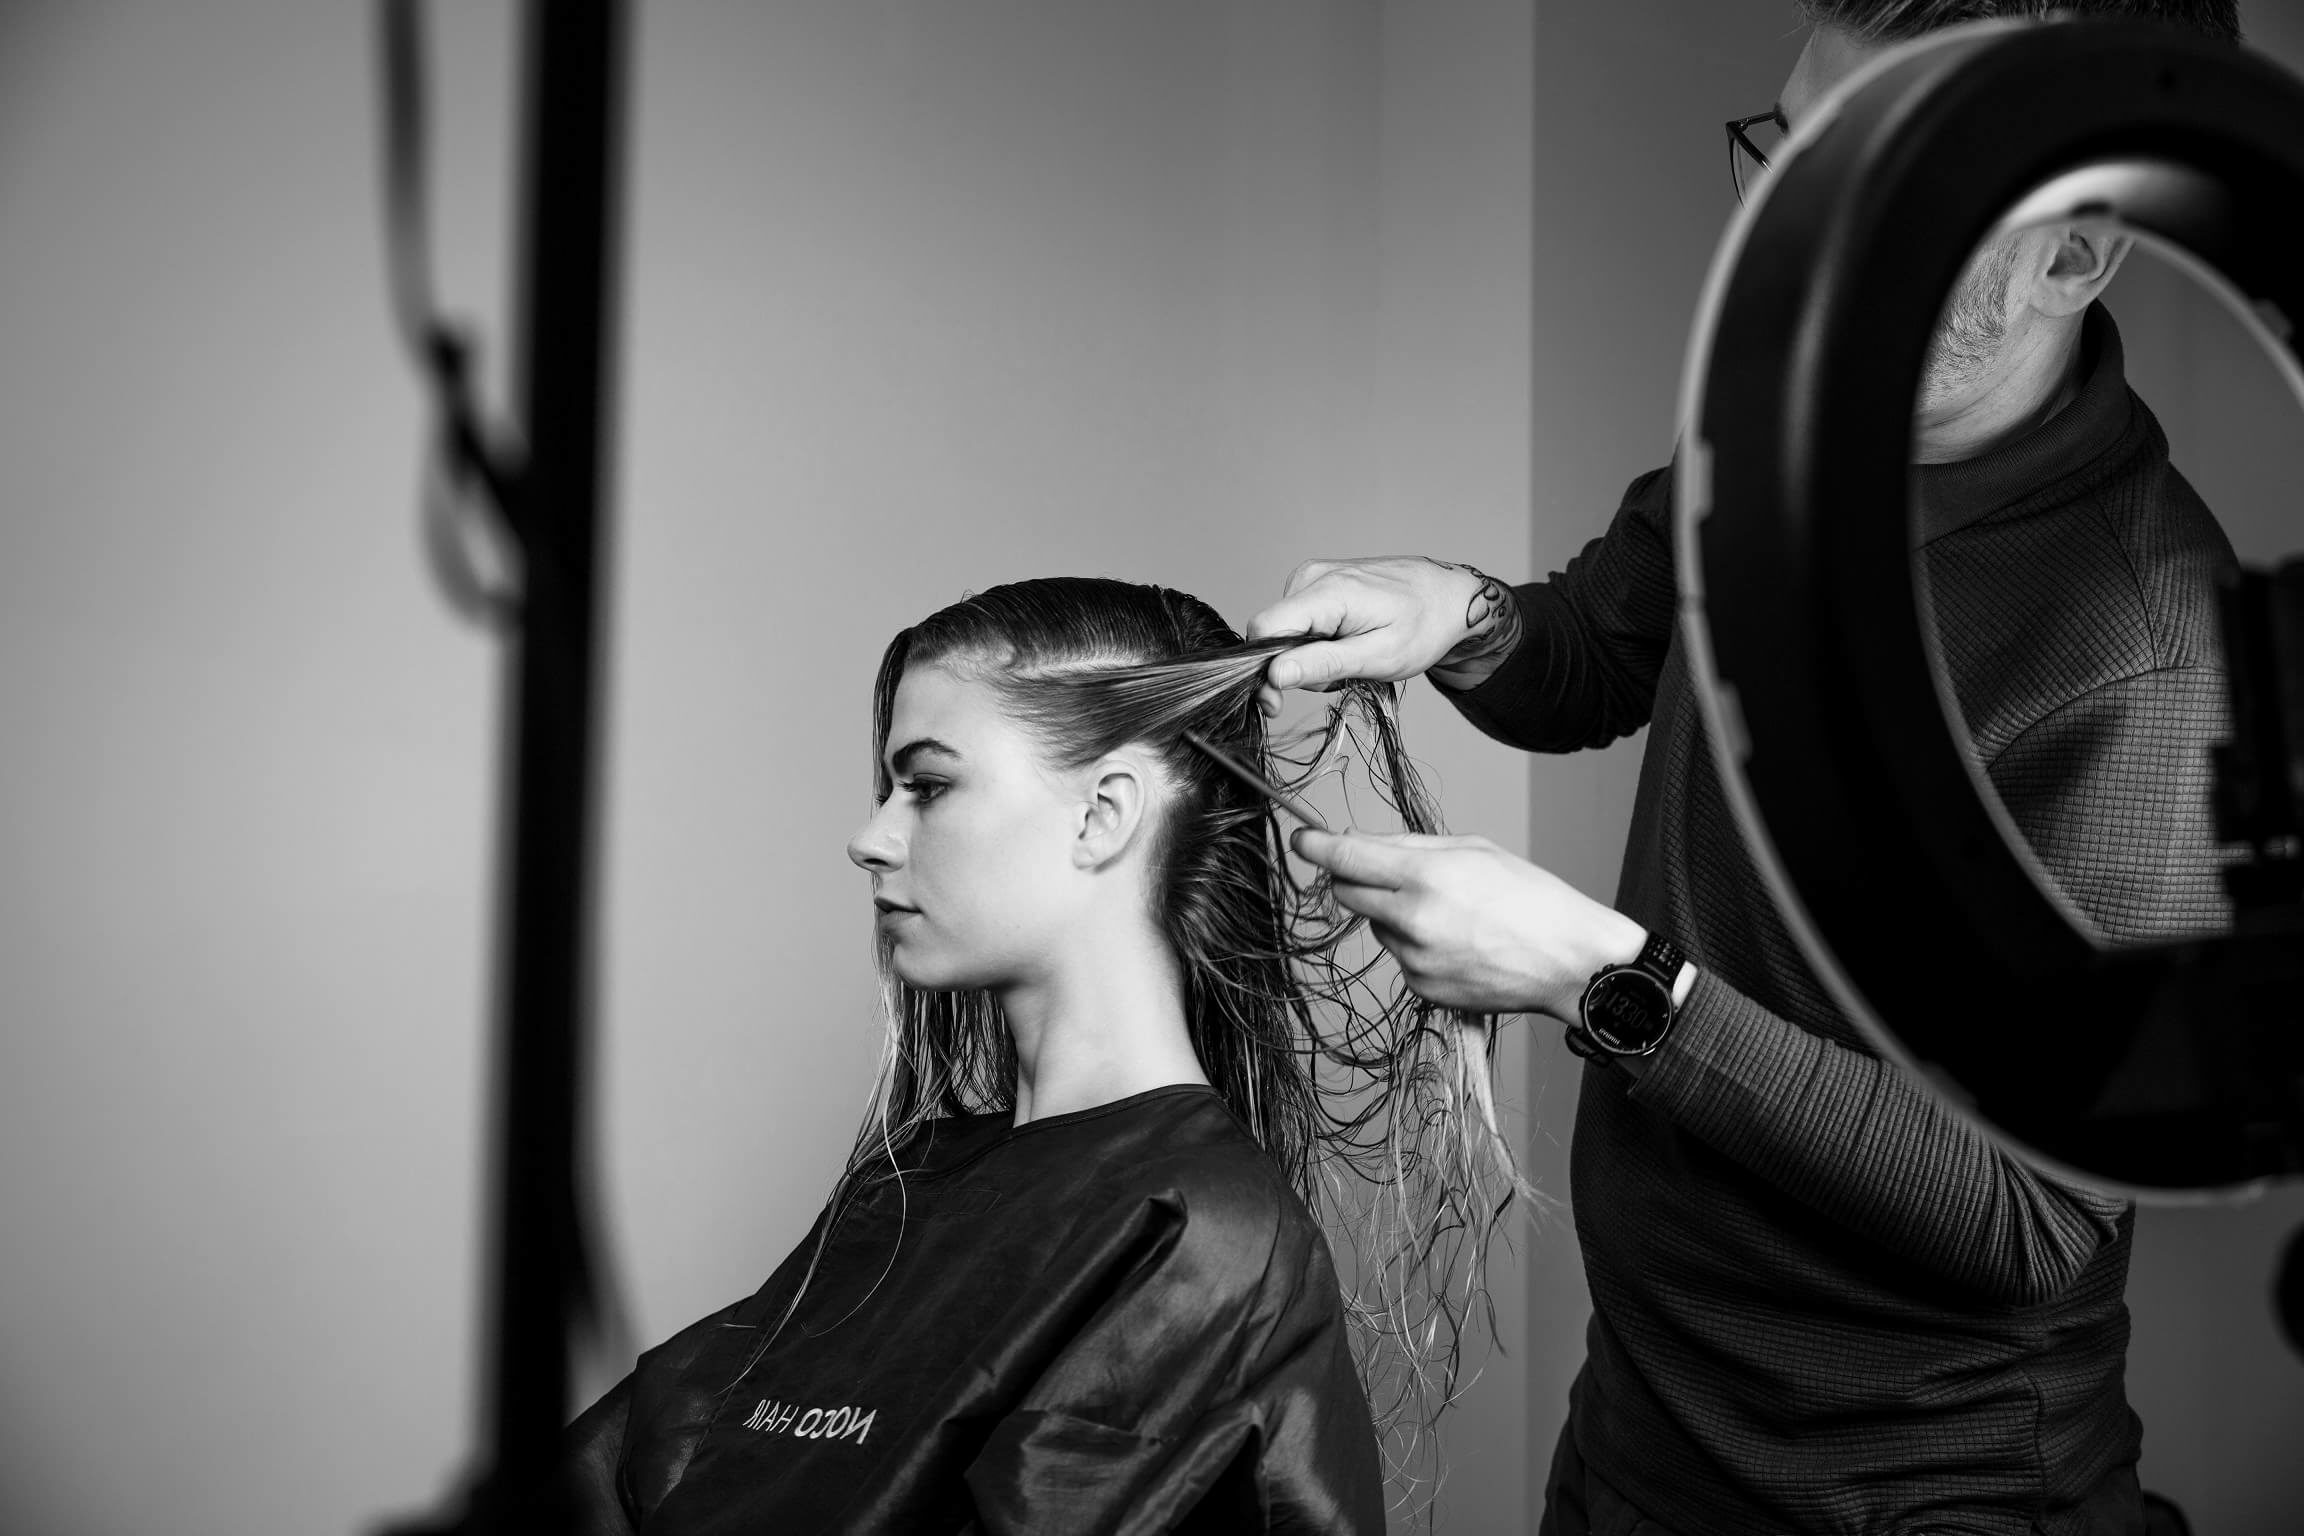
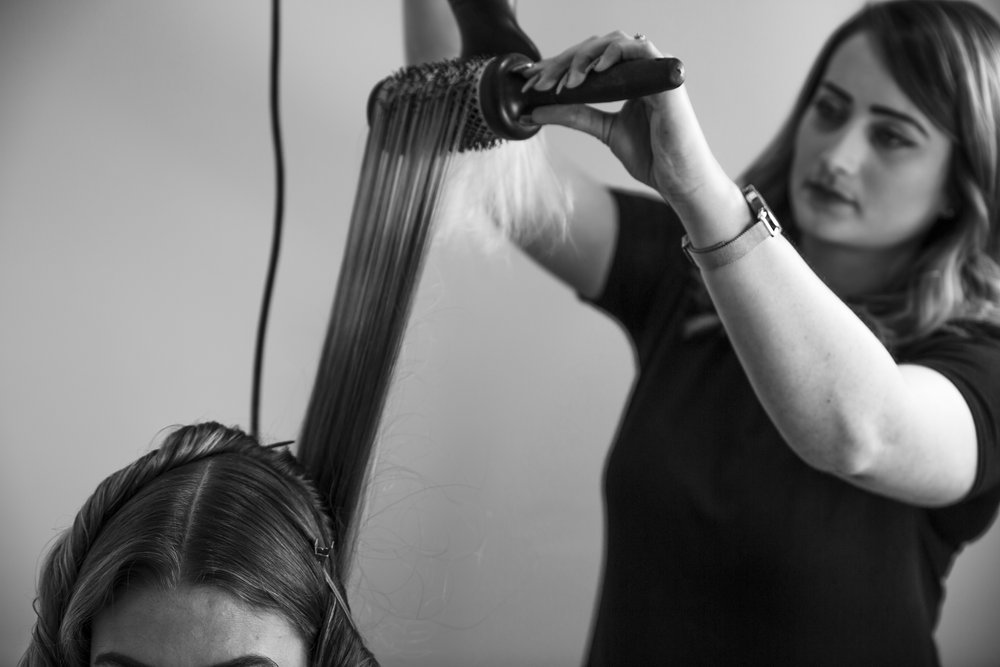
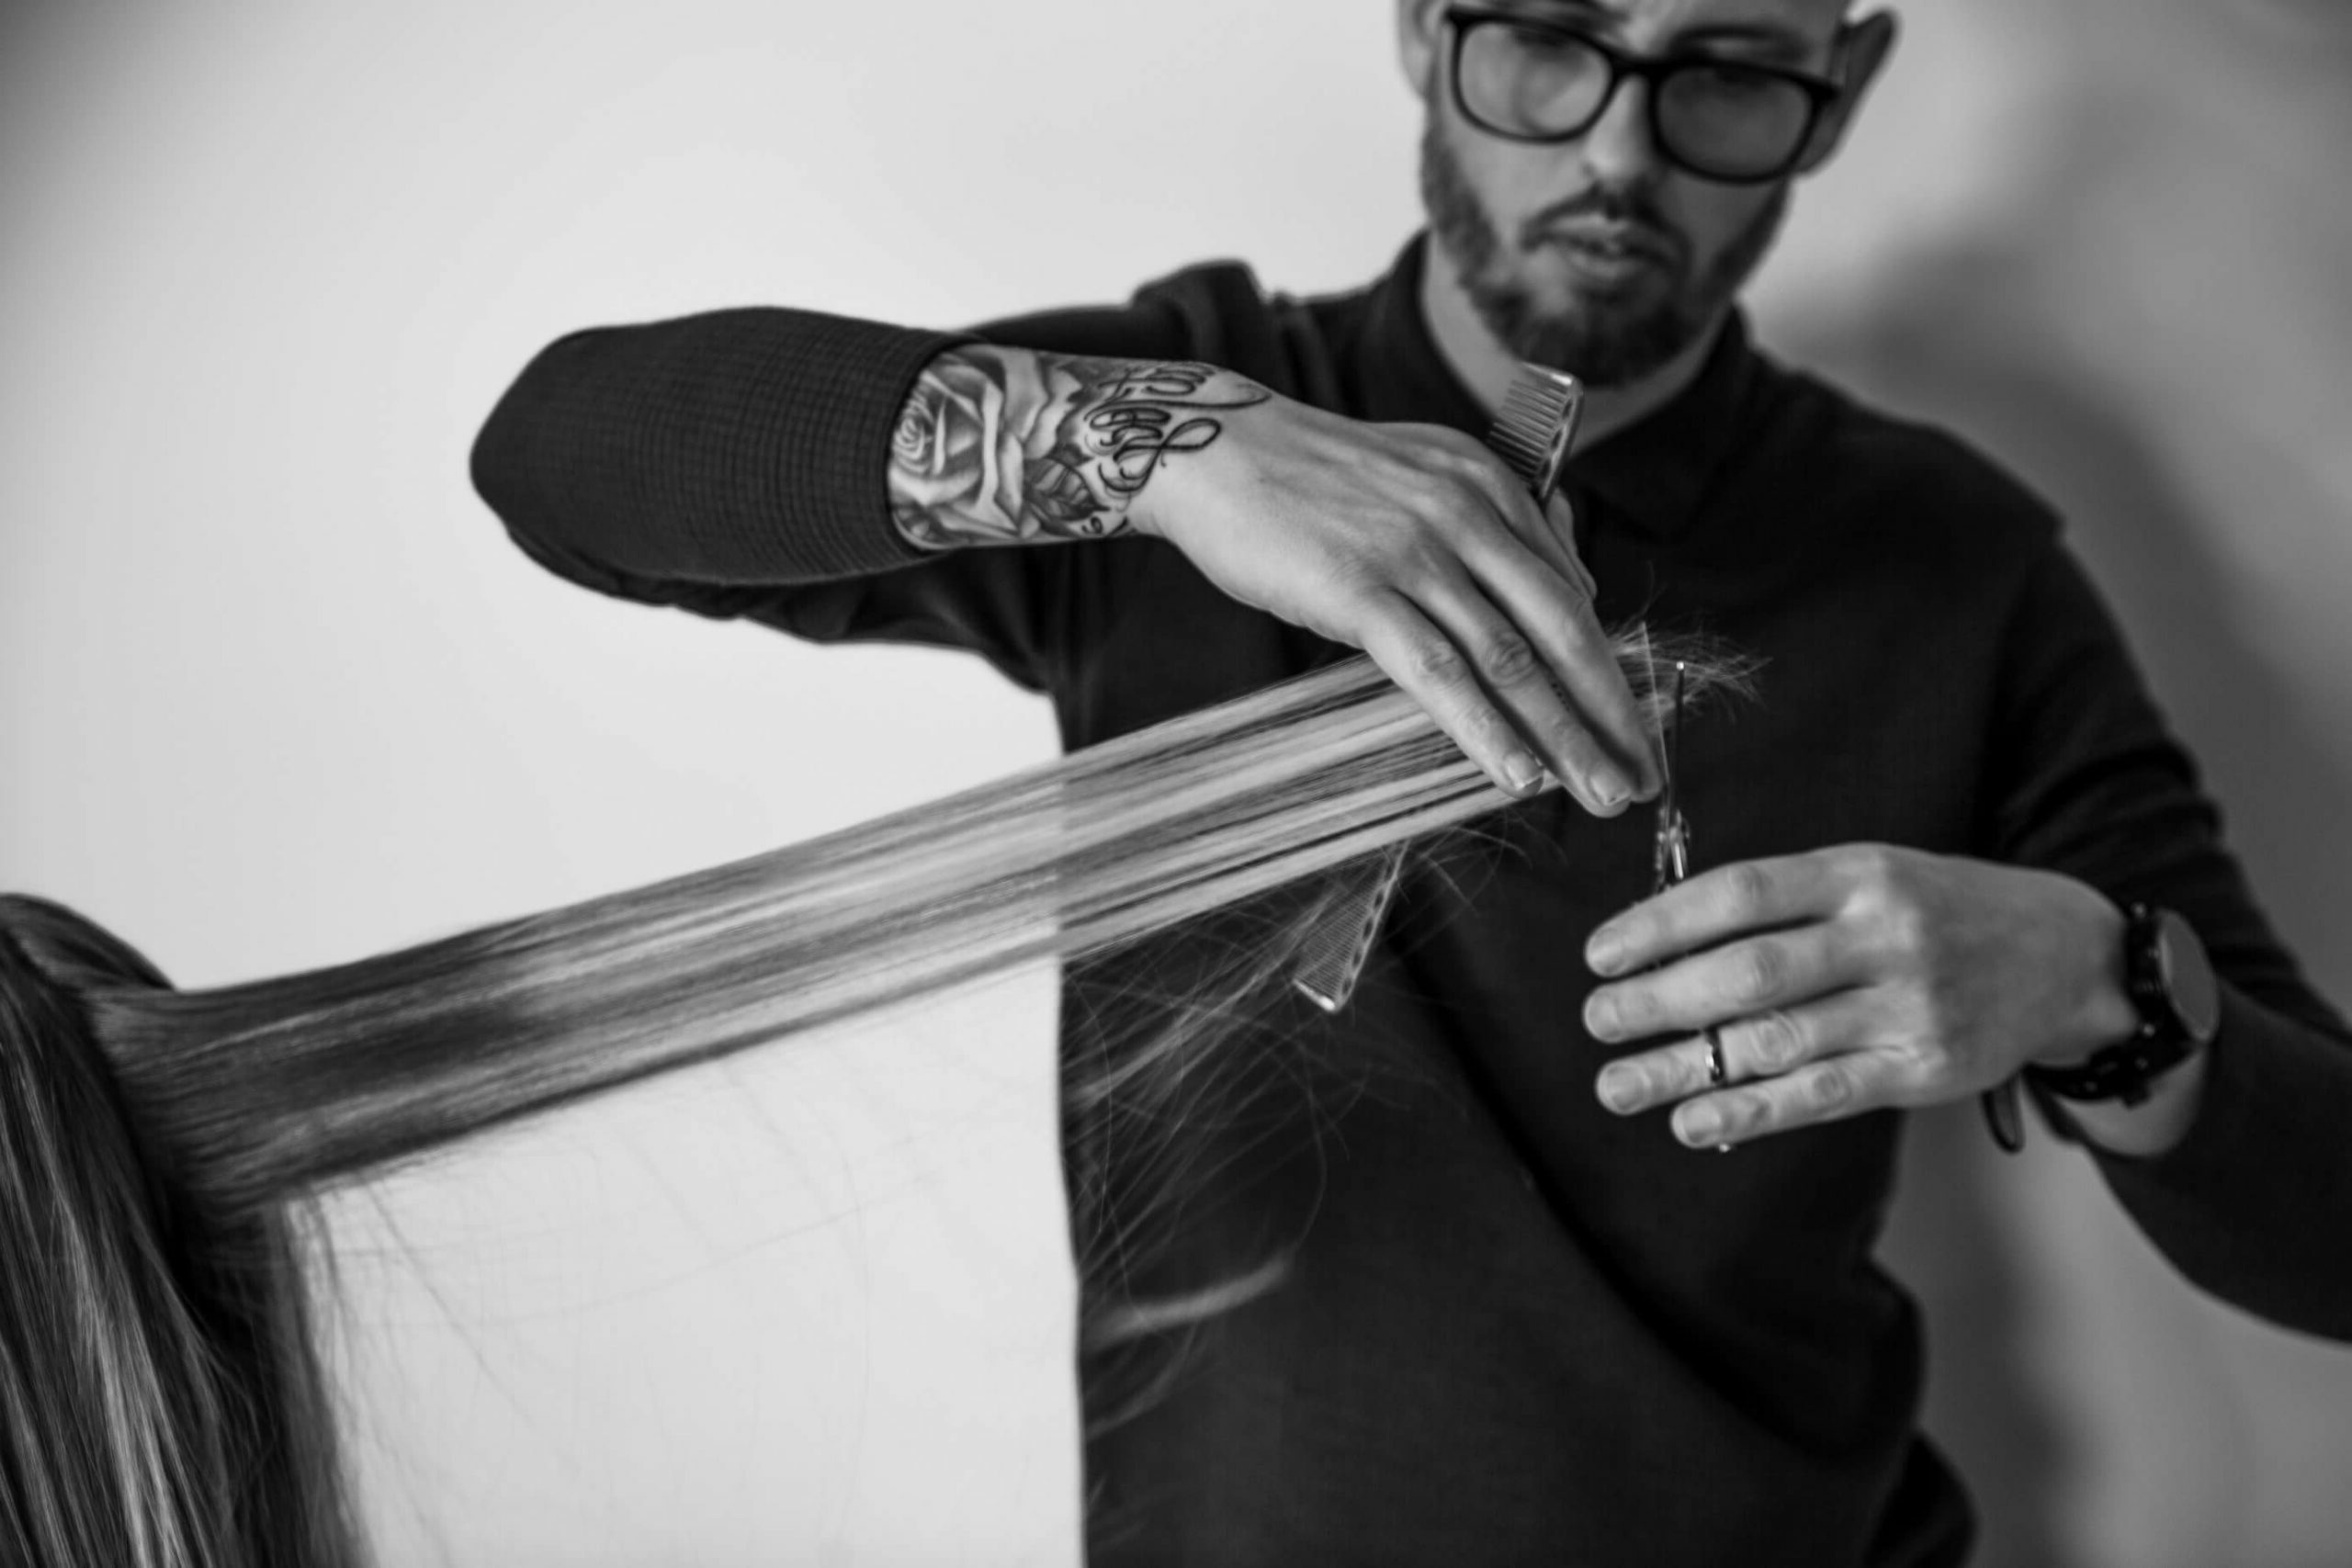
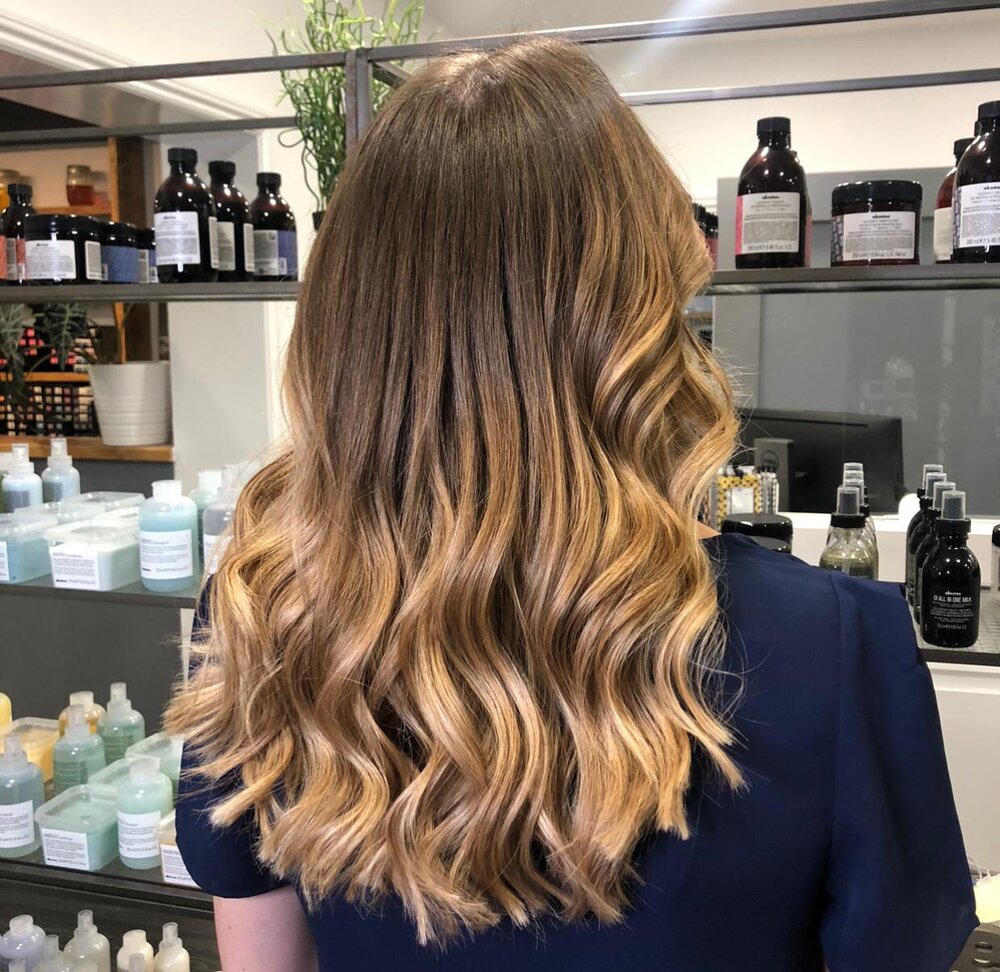
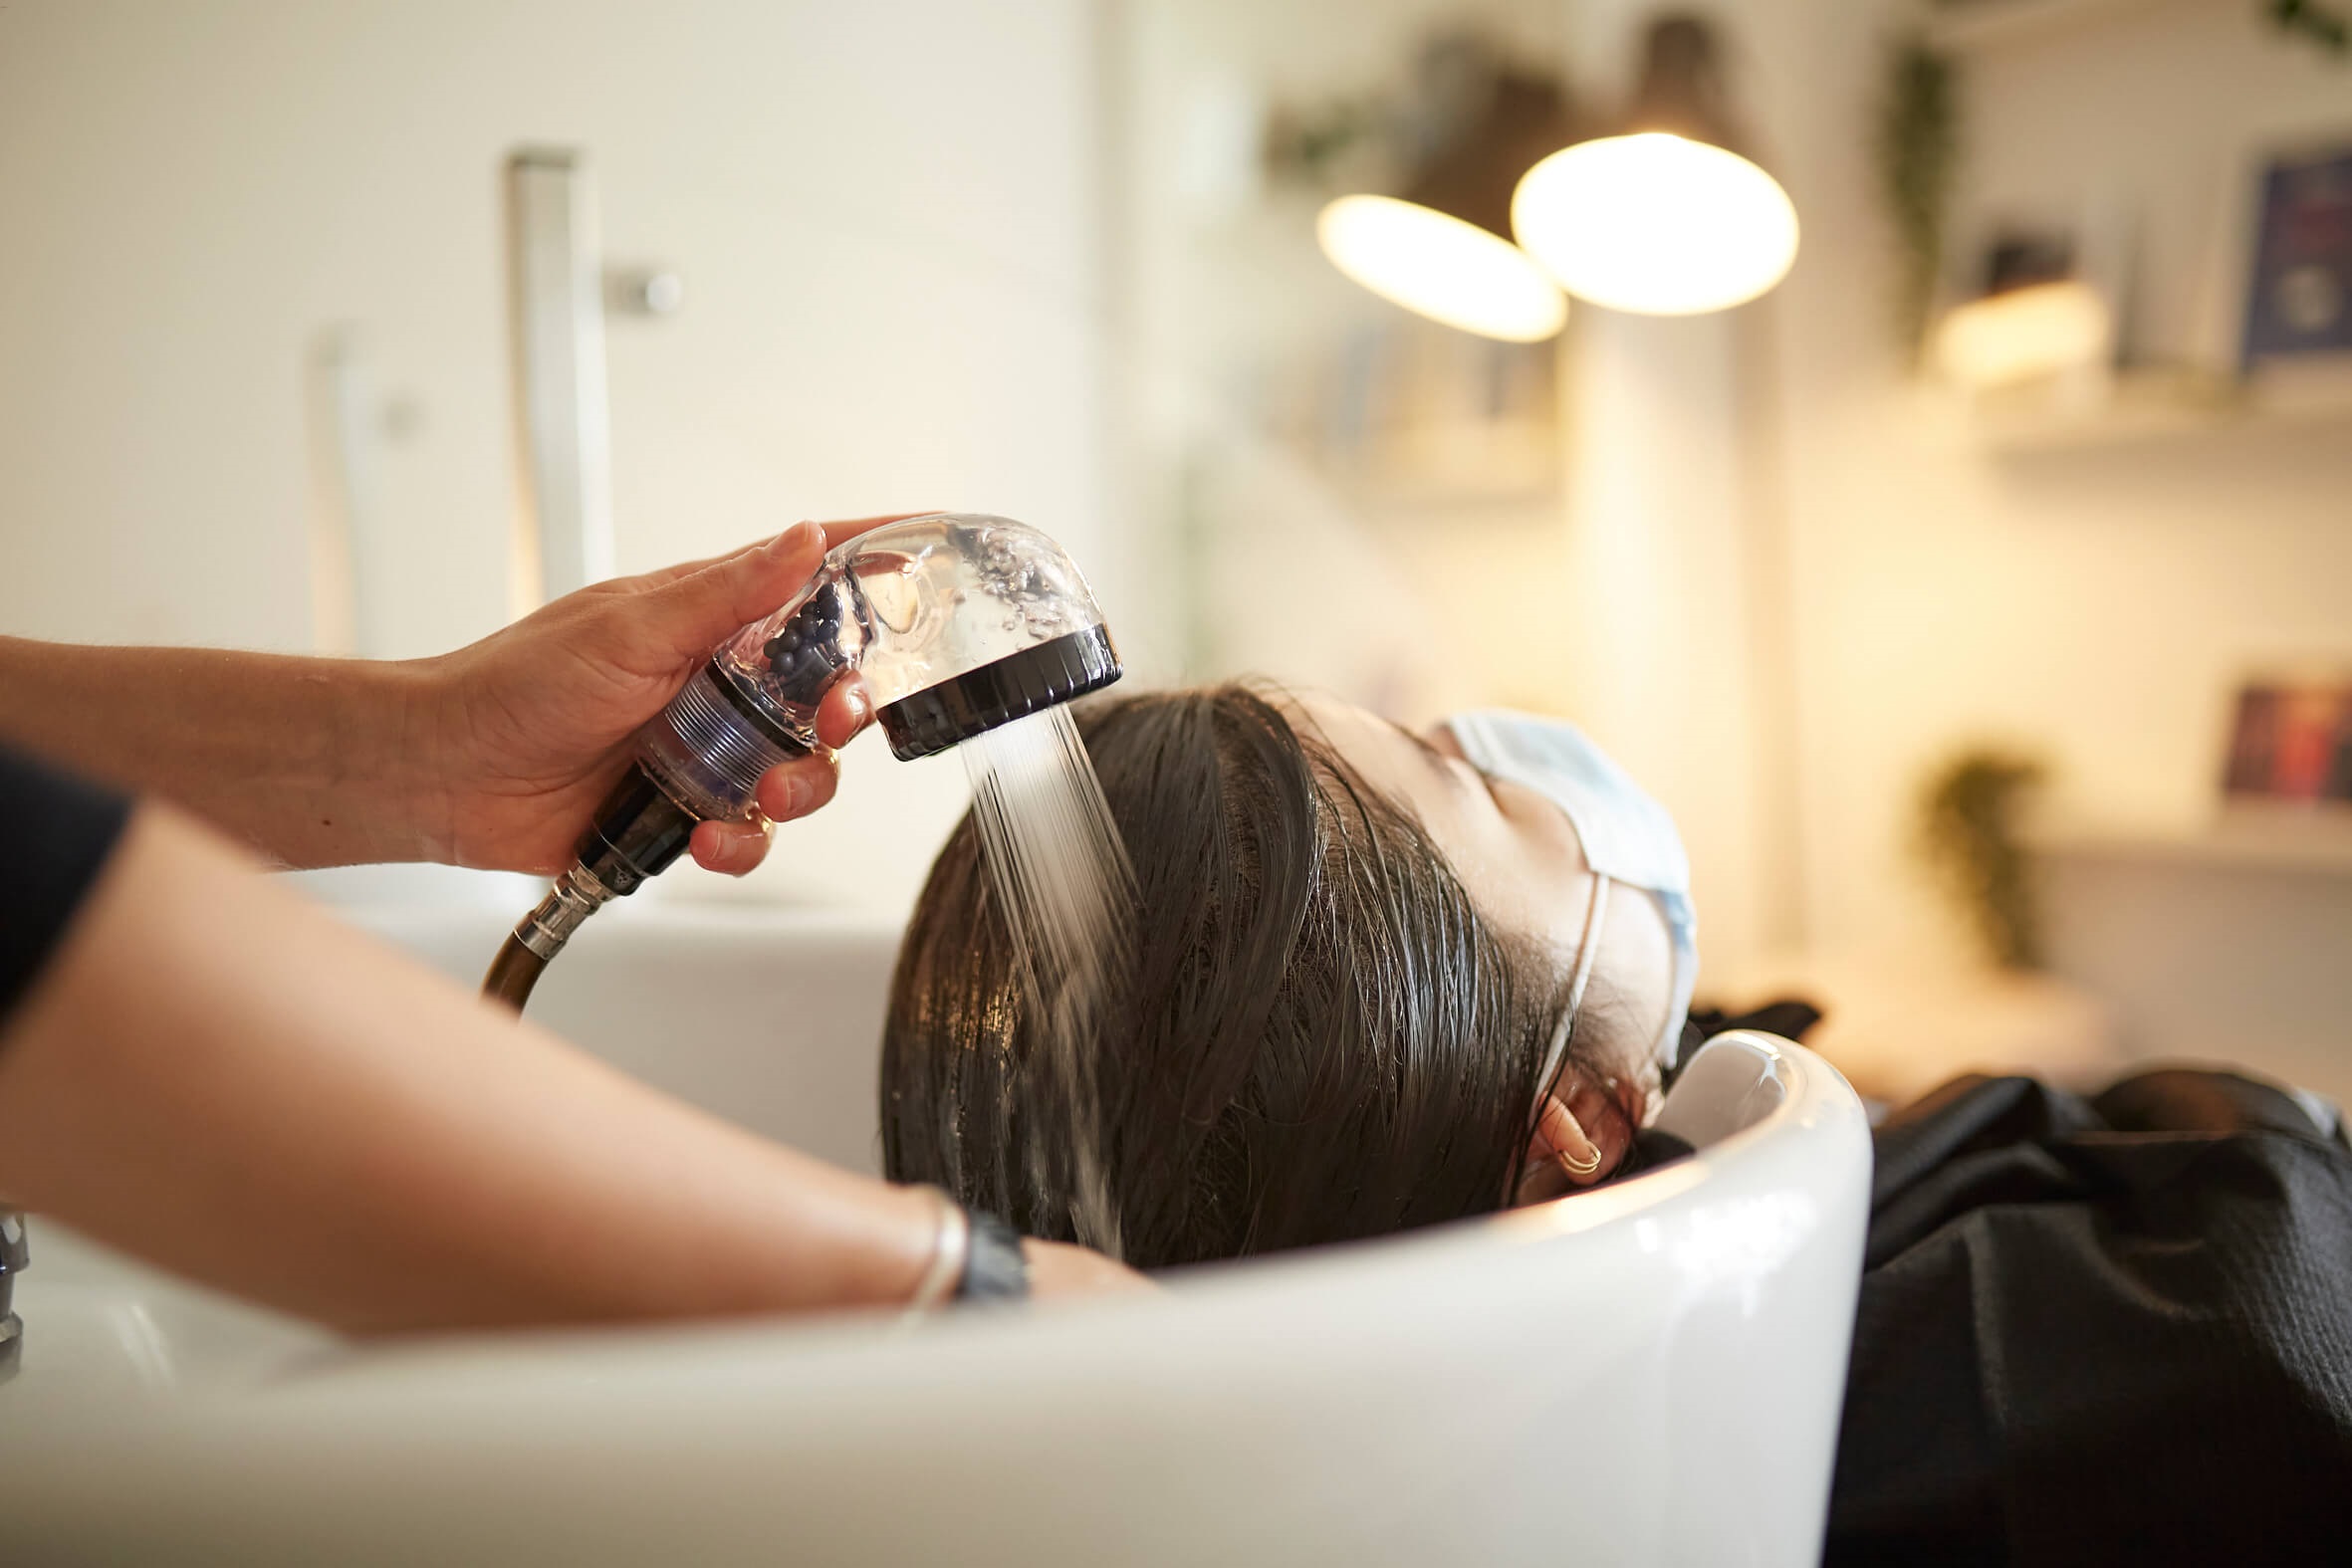
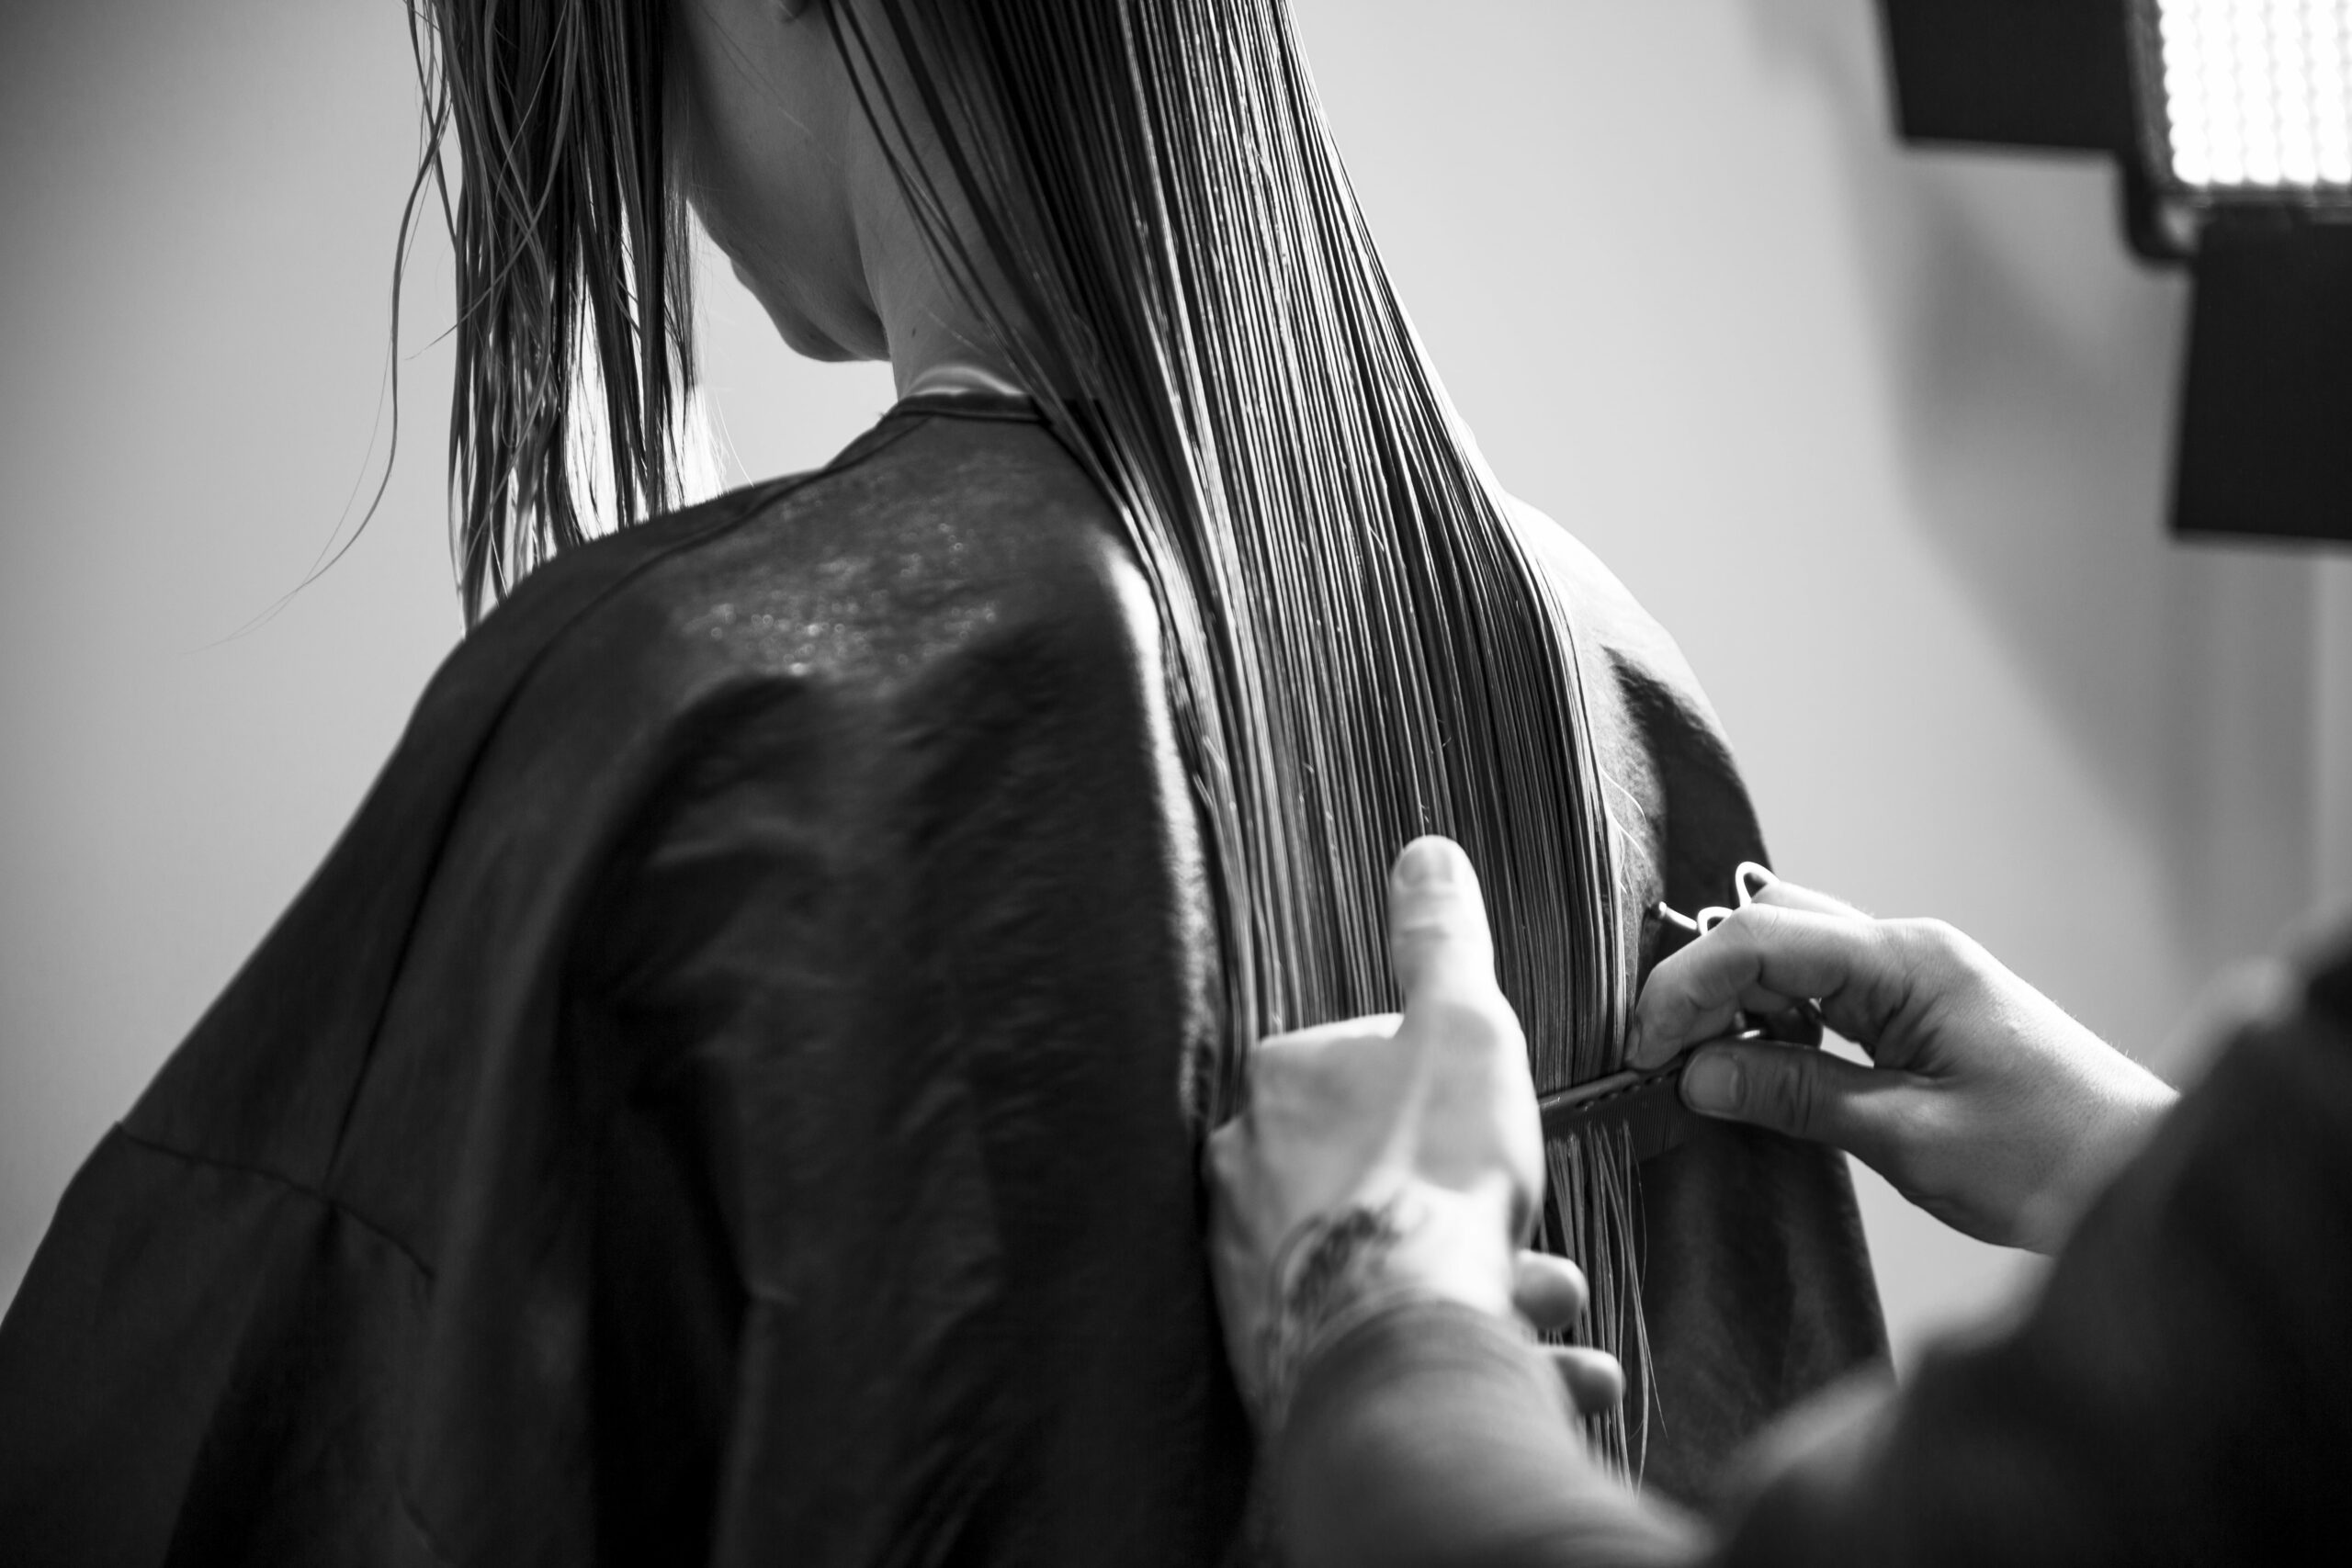
At NoCo the technique we use most commonly is a foiling technique which adds lightness to the hair from root to tip. This is the best approach when lifting through the old colour, trying to eliminate warmth or for any corrective work. After that we may add colour between the foils to add even more depth or further variety in tones – depending on whether or not the hair has been previously lightened. The key to a. beautiful balayage is placement and colour choice – this underpins where we see maximum brightness and the amount of contrast that we create.
To finish the process, we use our Signature Soft Blend toner. We apply an acidic colours from root to tip using a deeper shade at the root, this adds depth to the hair without effecting the natural base colour – this bits super important as it’s how we make sure our balayages grow out seamlessly!
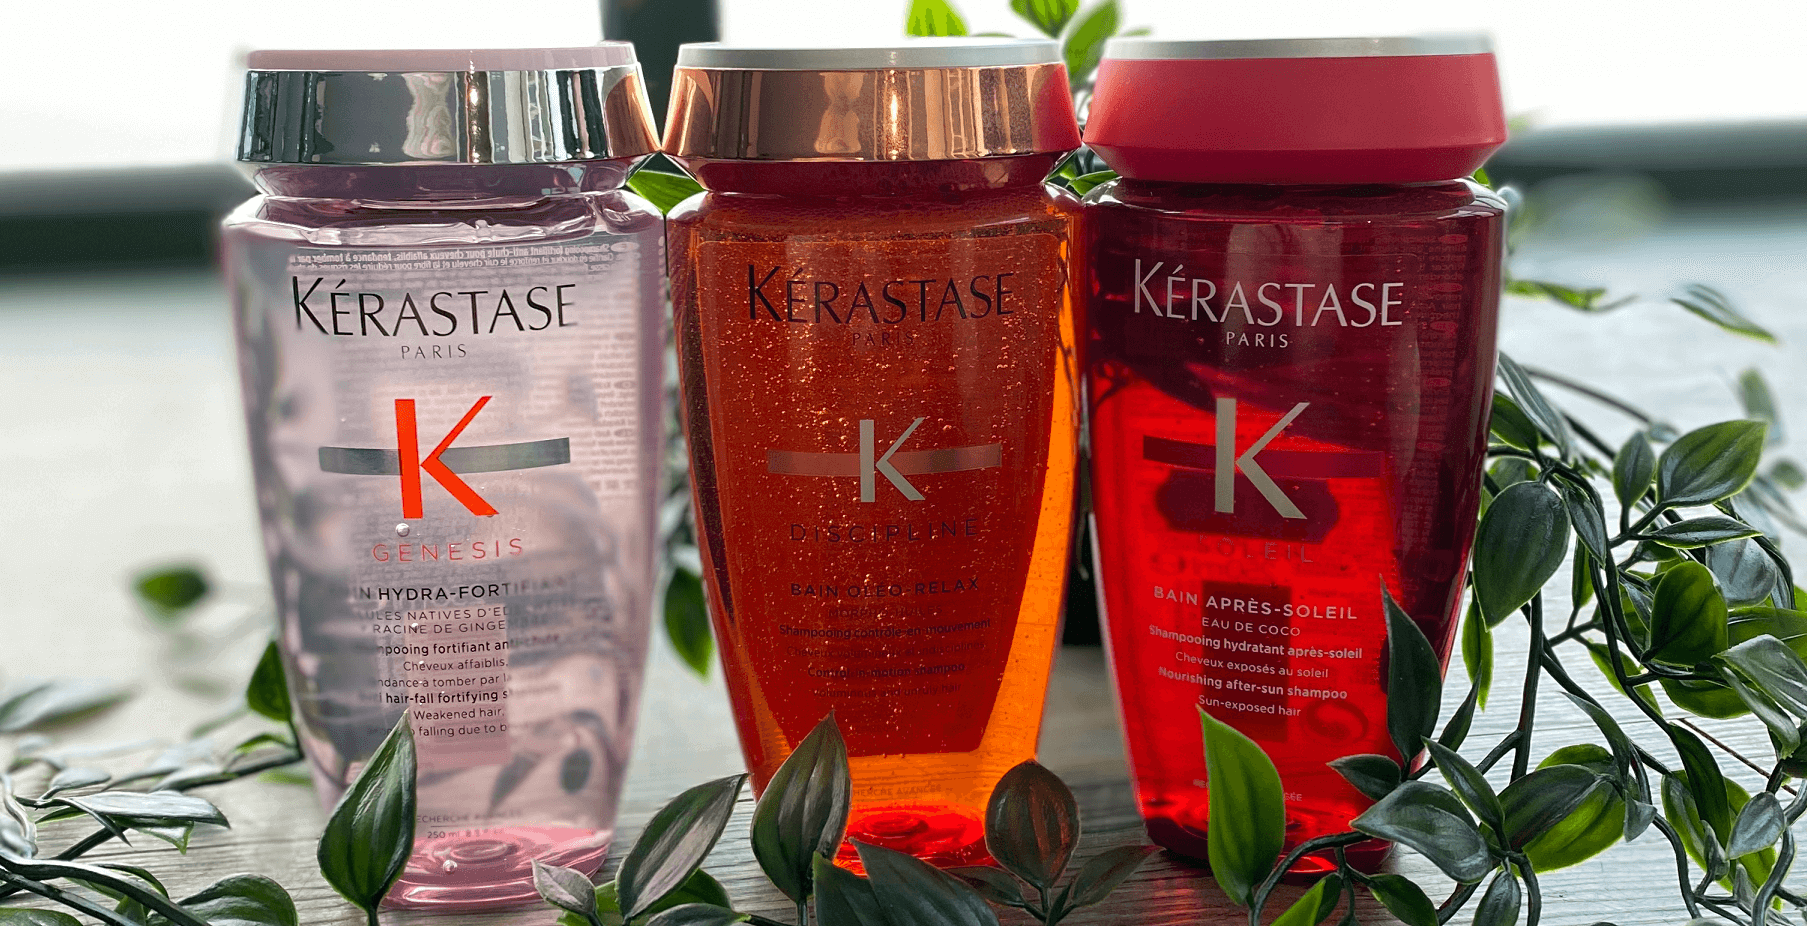
Olaplex is our magic not-so-secret ingredient to every lightening service. This protects your hair. Whether it’s a balayage, ombre, foliage, face frame, dip-dye, high lights or platinum card transformation – Olaplex is always highly recommended. After all condition is key!
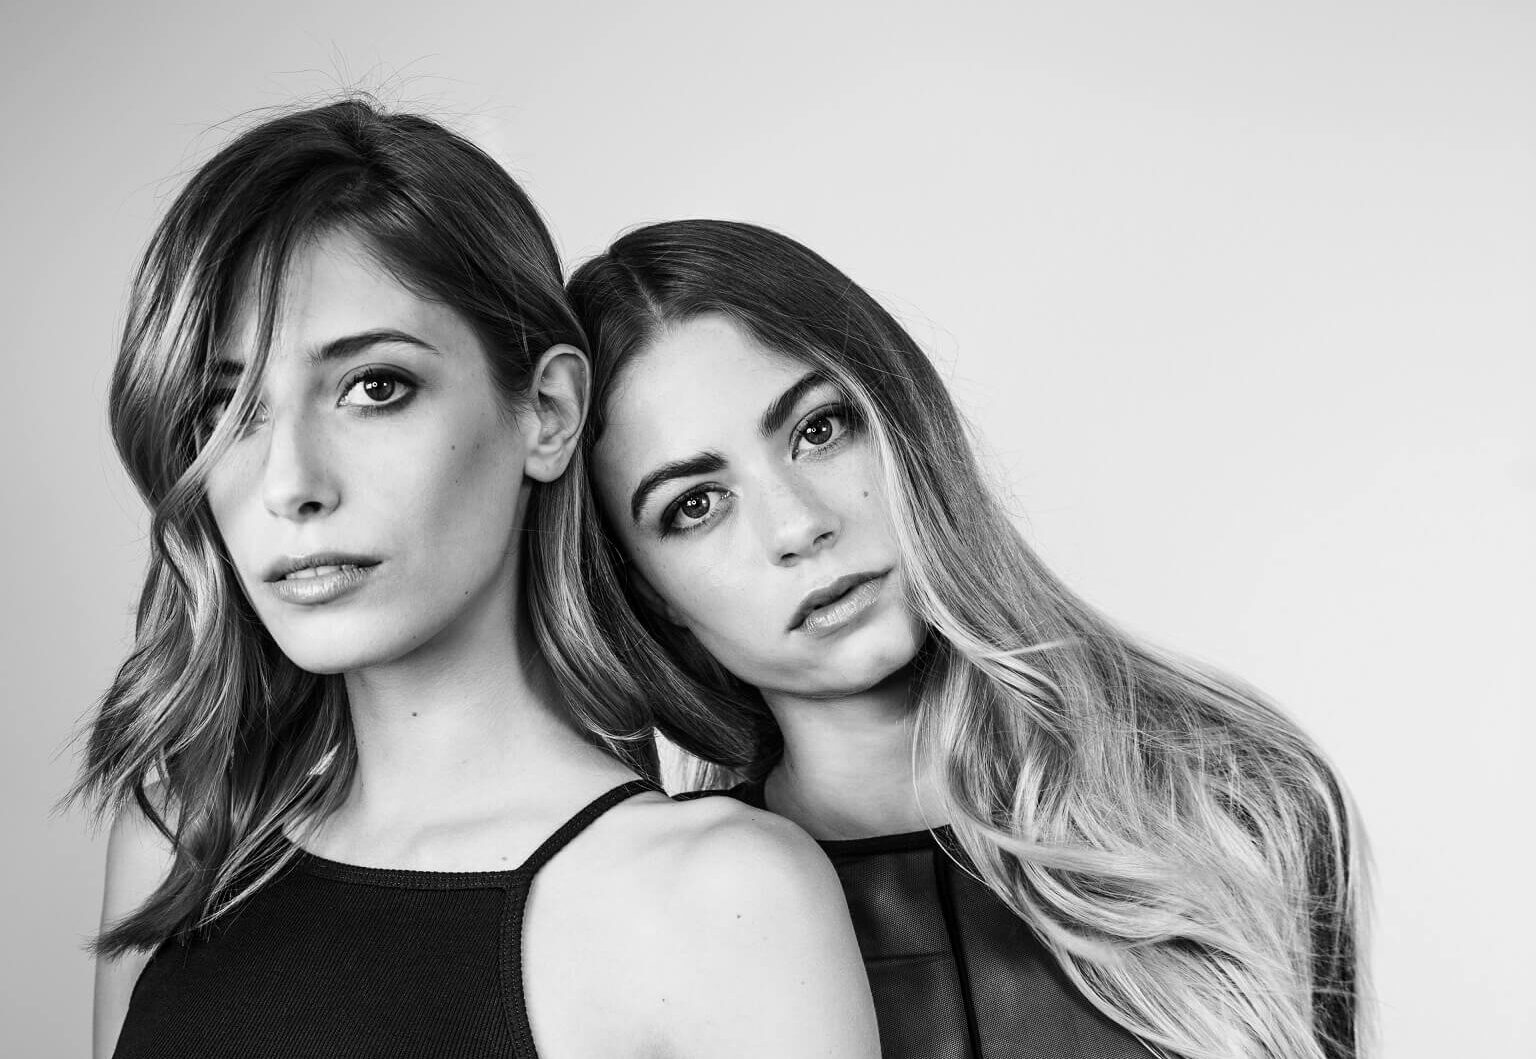
One of the reasons that we are so smitten with balayage is the personalisation it allows, creating a completely unique bespoke colour for each guest, which suits that and fulfils their desires!
What’s next in fashion?
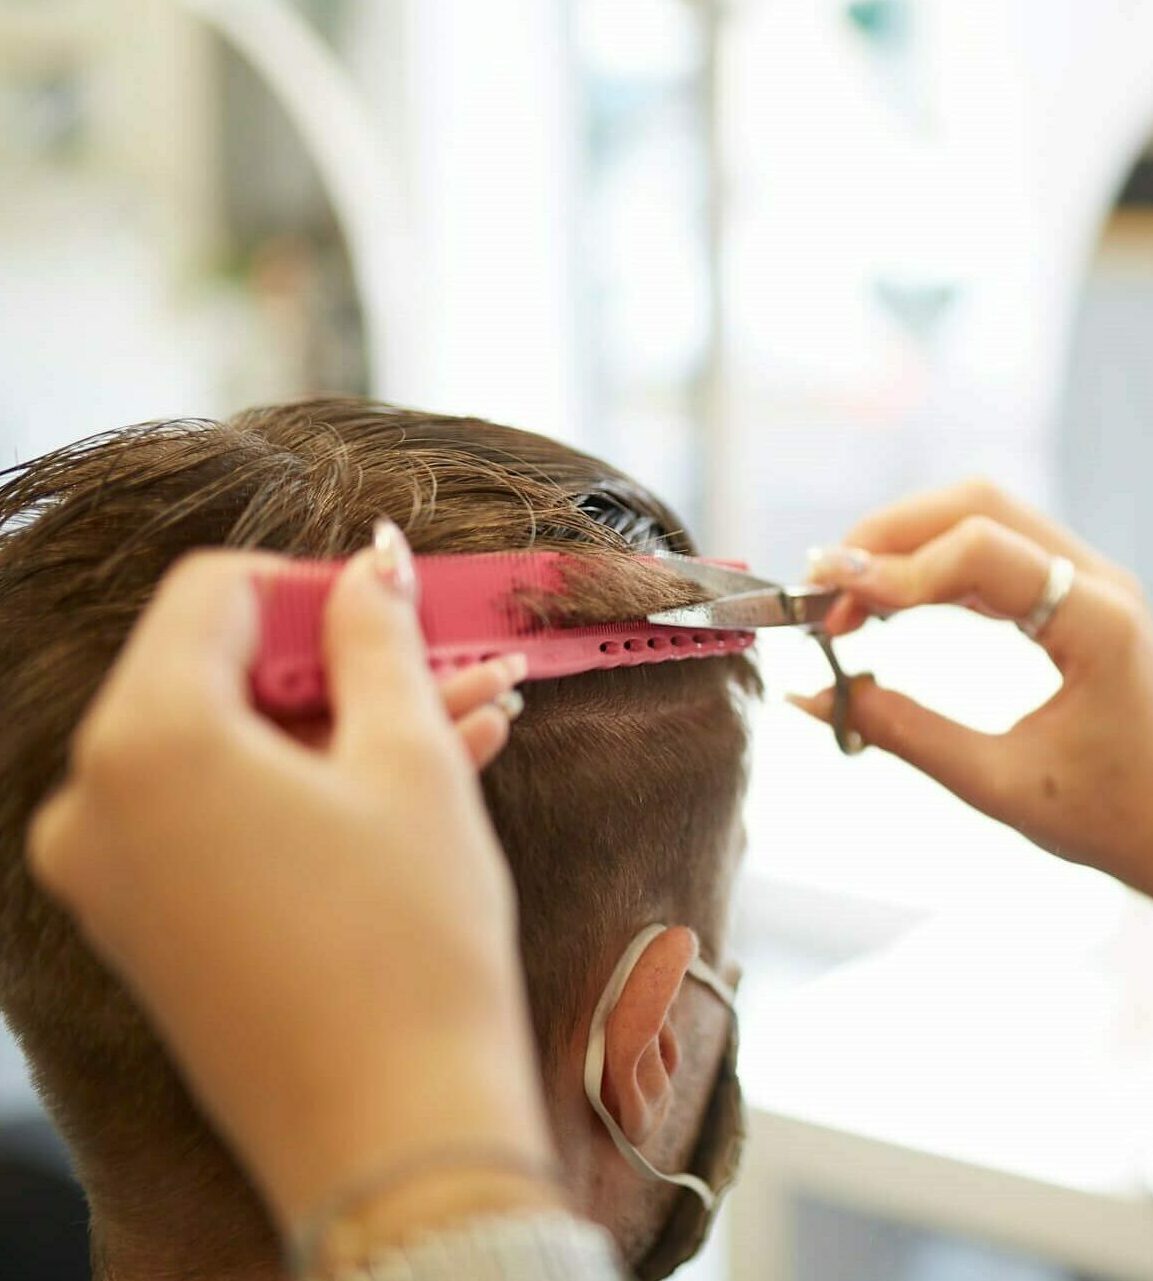
If there’s one thing we’re pretty confident about – it’s that balayage is here to stay However, we are seeing a change in cut trends with more texture, choppiness and movement so our approach to colouring must accommodate this. Using more block placement and concentrating the colour around the face and towards the ends of the layers helps to enhance the haircut and the two work in harmony to create a beautiful end result.
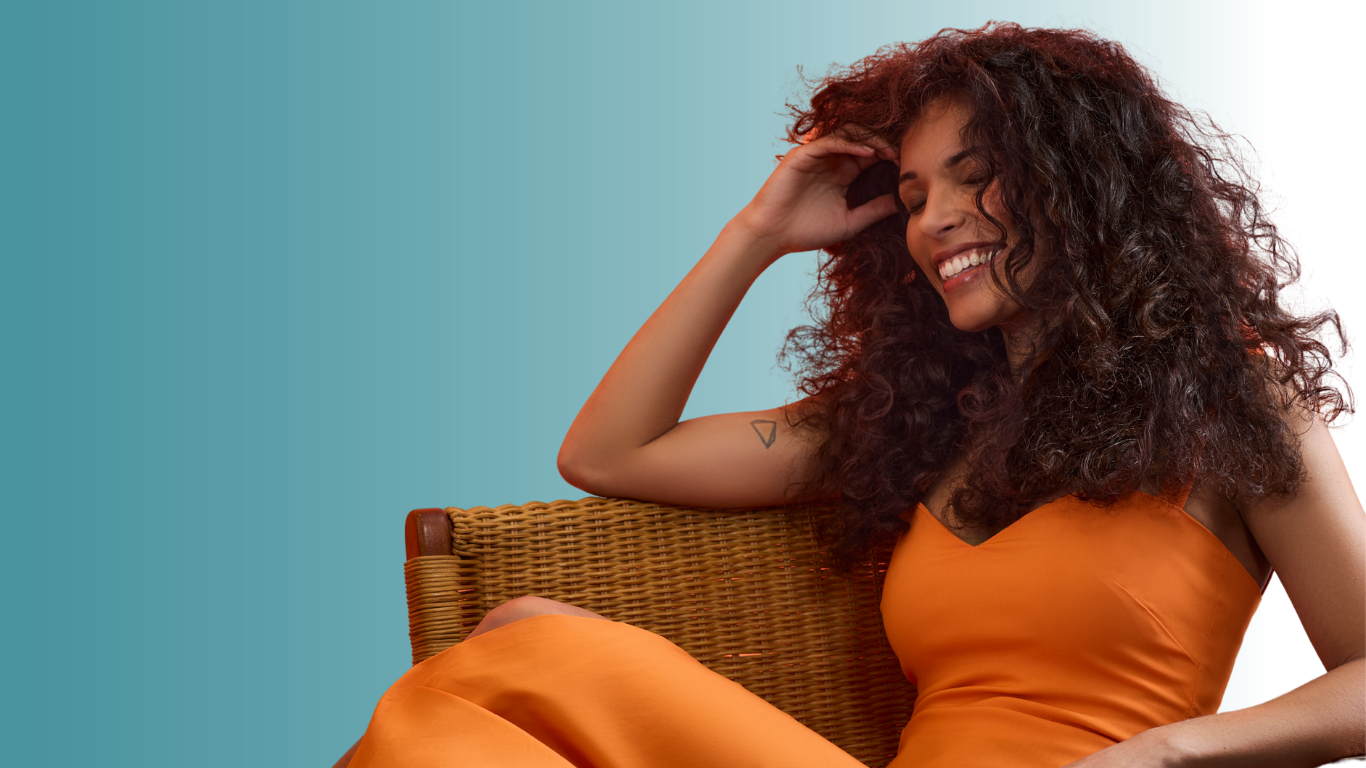
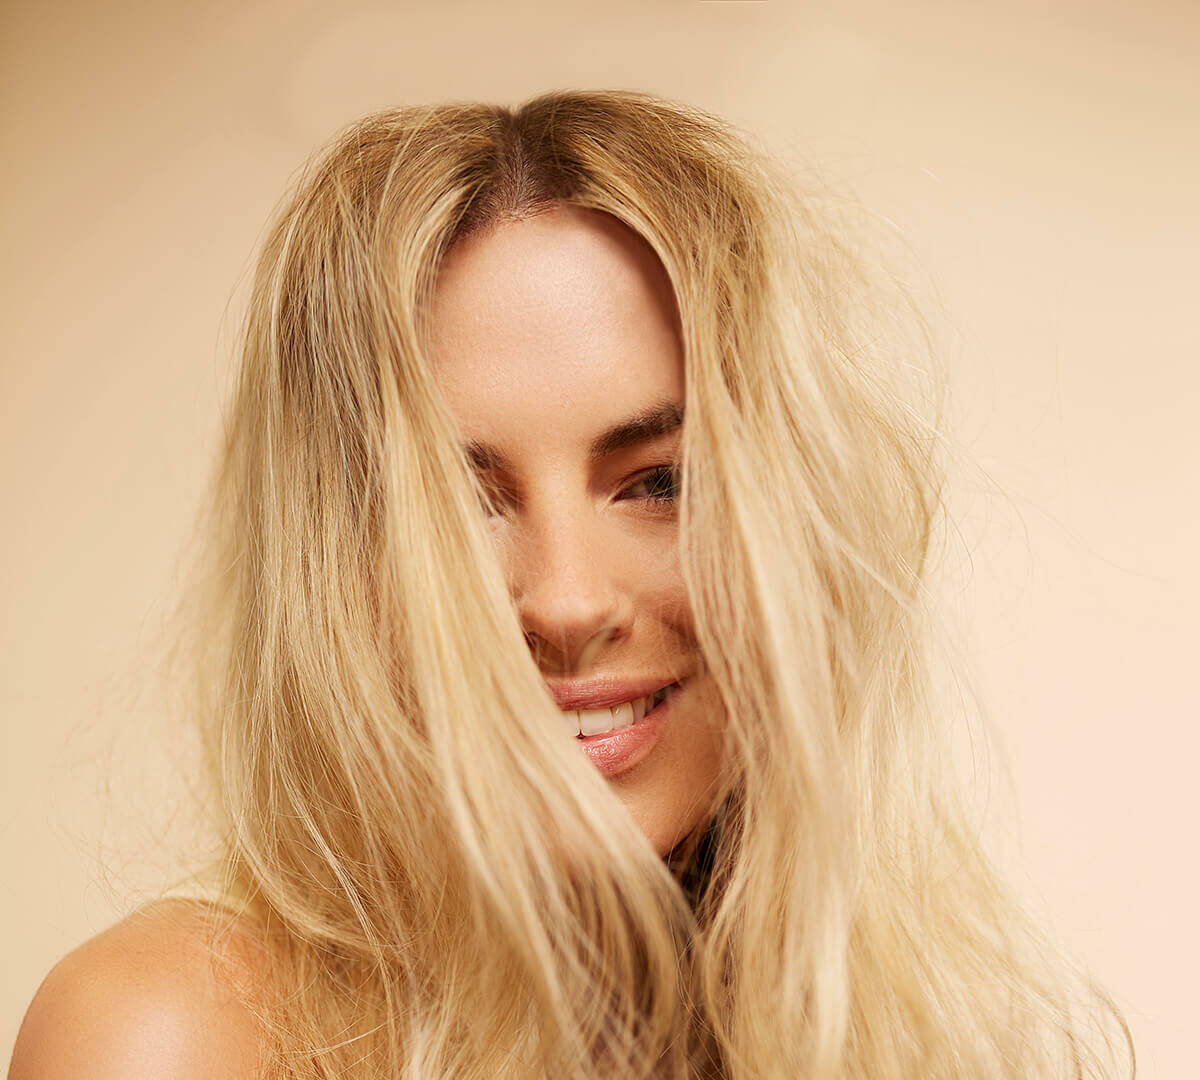
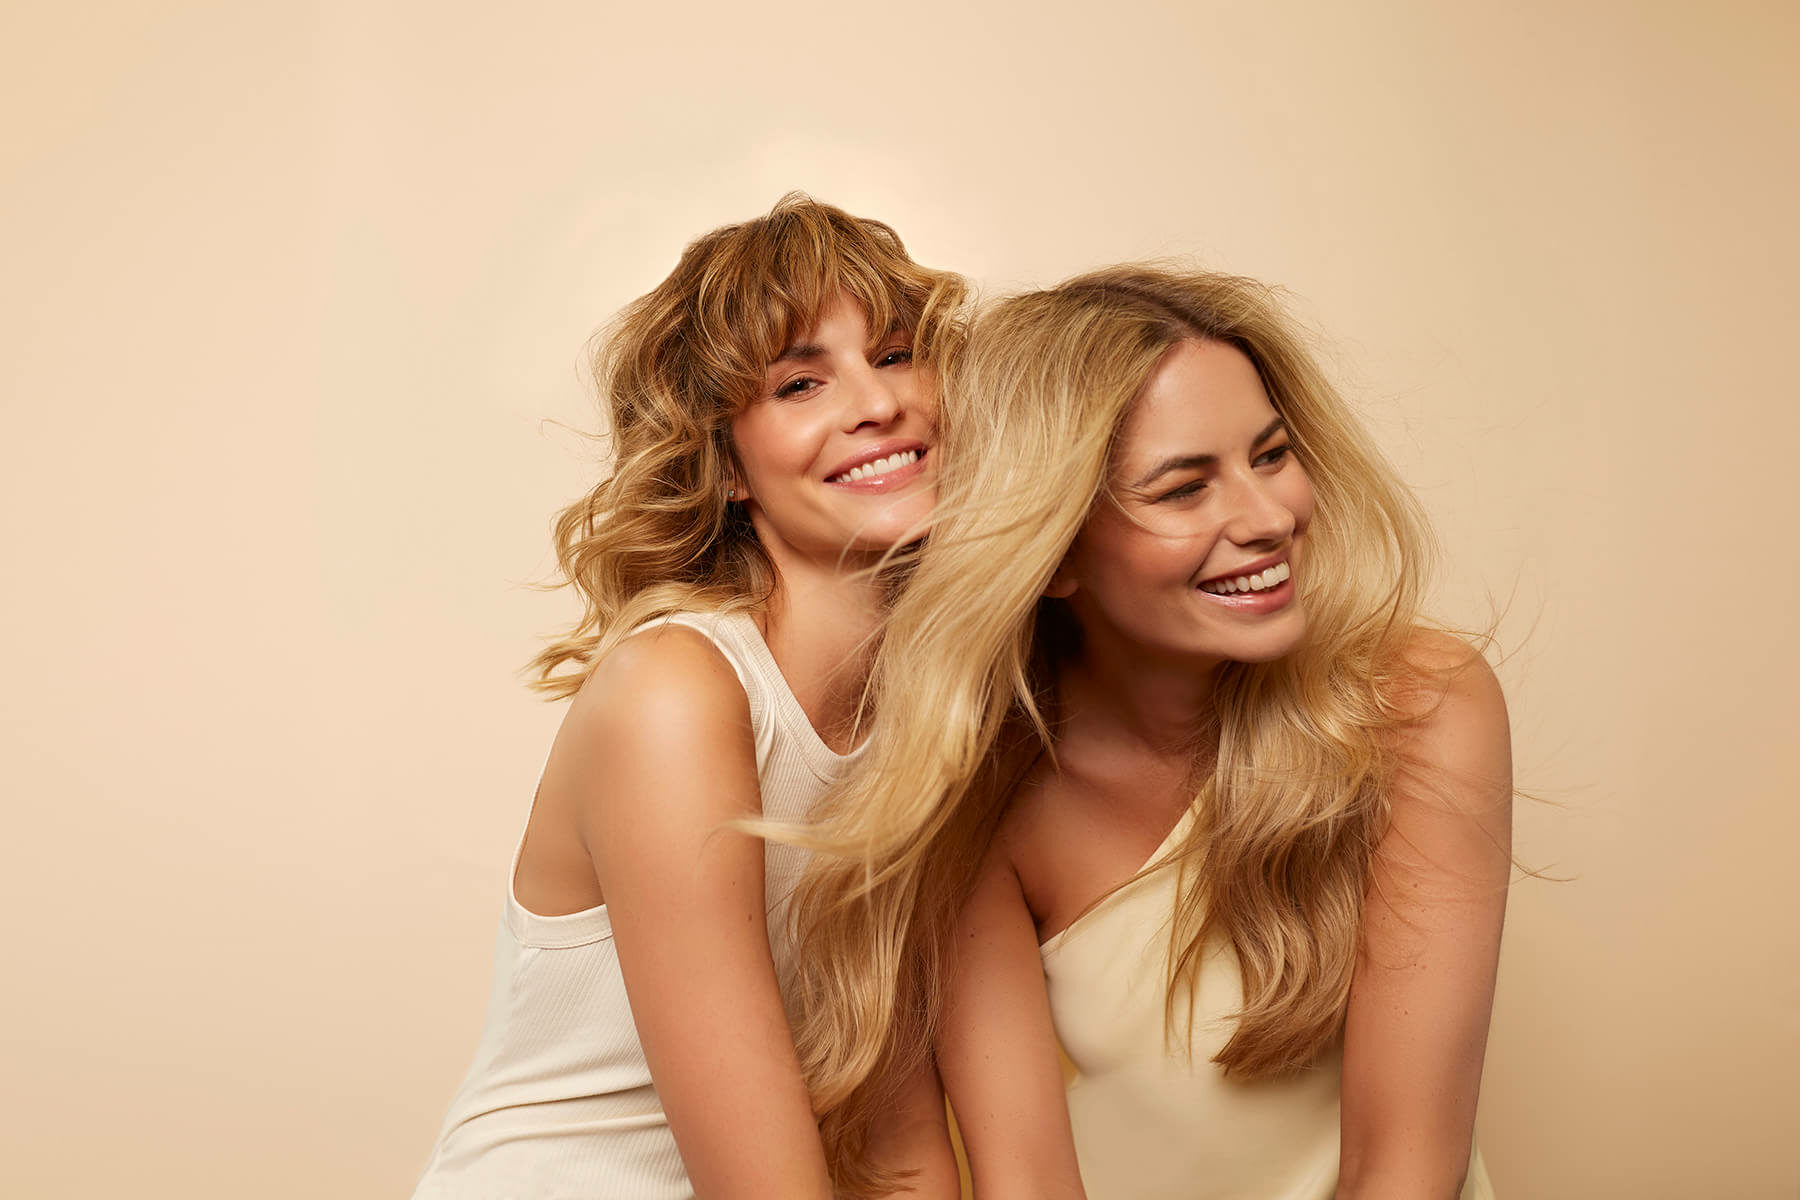
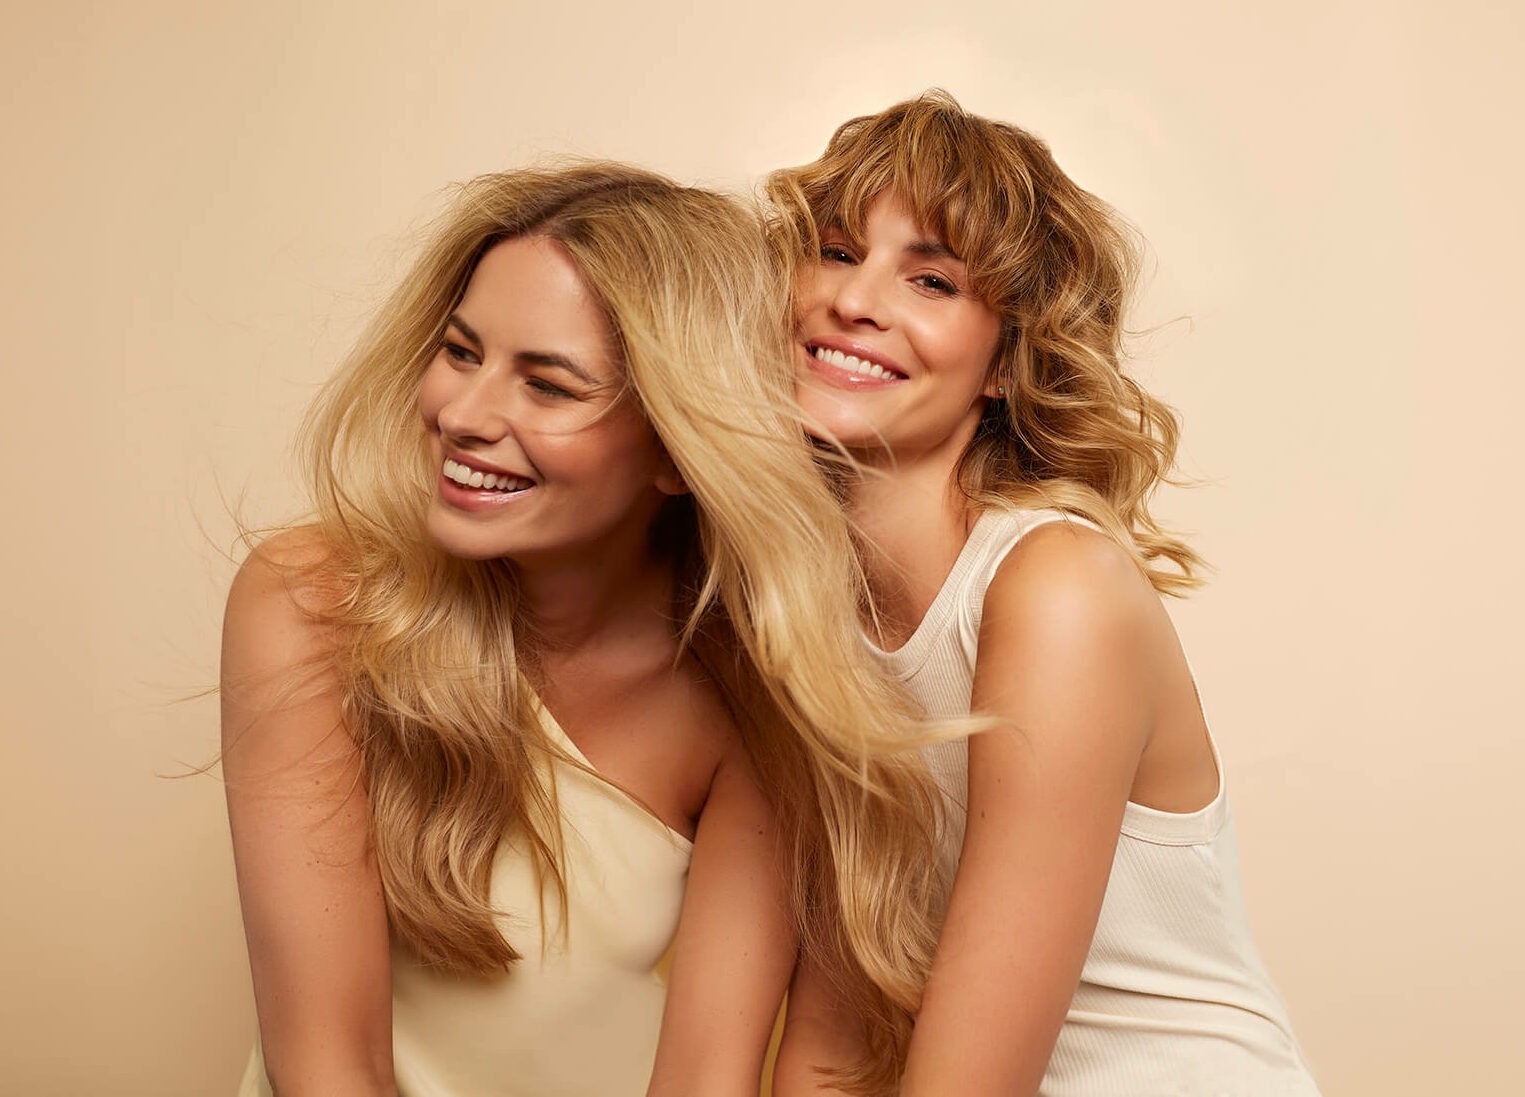
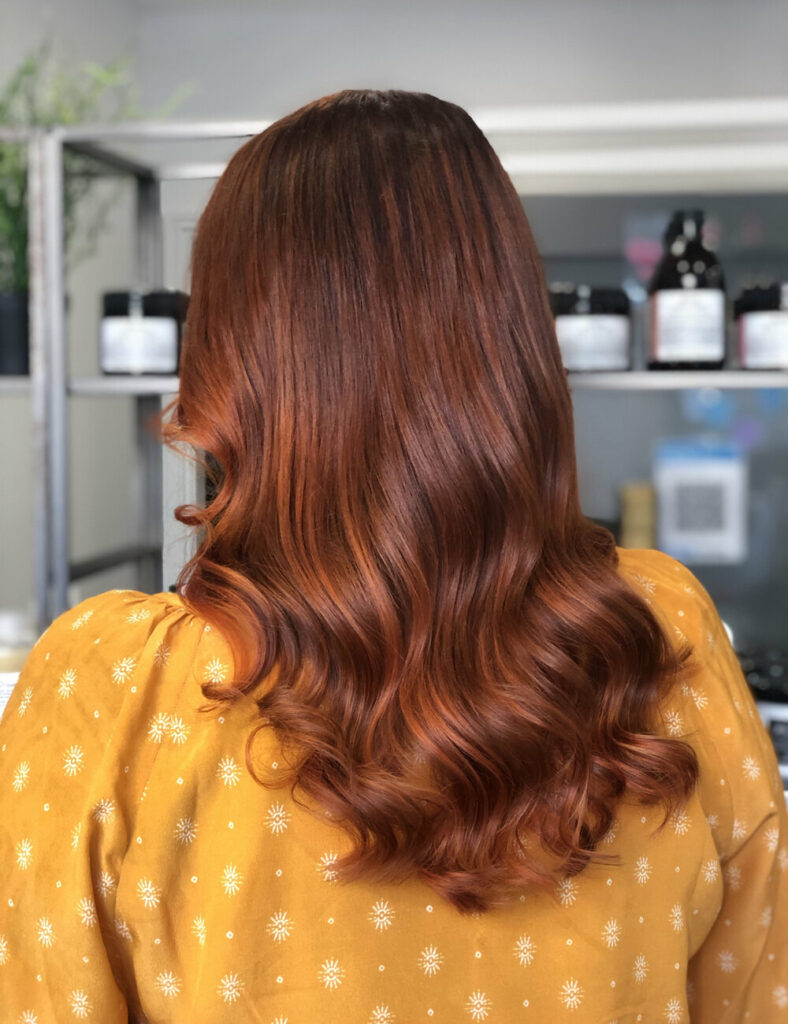
Brighter days calls for lighter hair! Whether your natural base colour is blonde or brunette, now is the perfect time to brighten it up. From soft & natural “barely there” ribbons of colour to block colour placement, that sun kissed glow is what everyone needs right now. Keep your hair feeling fresh by playing around with different tones. Enhancing warmth to create strawberry blondes with soft apricots and peachy hues gives blondes a more summery feel. “Bronzed Blonde” is the perfect balance of light and depth with lots of rich golden tones, a great way to make brunettes feel summer ready!
Good enough to eat!
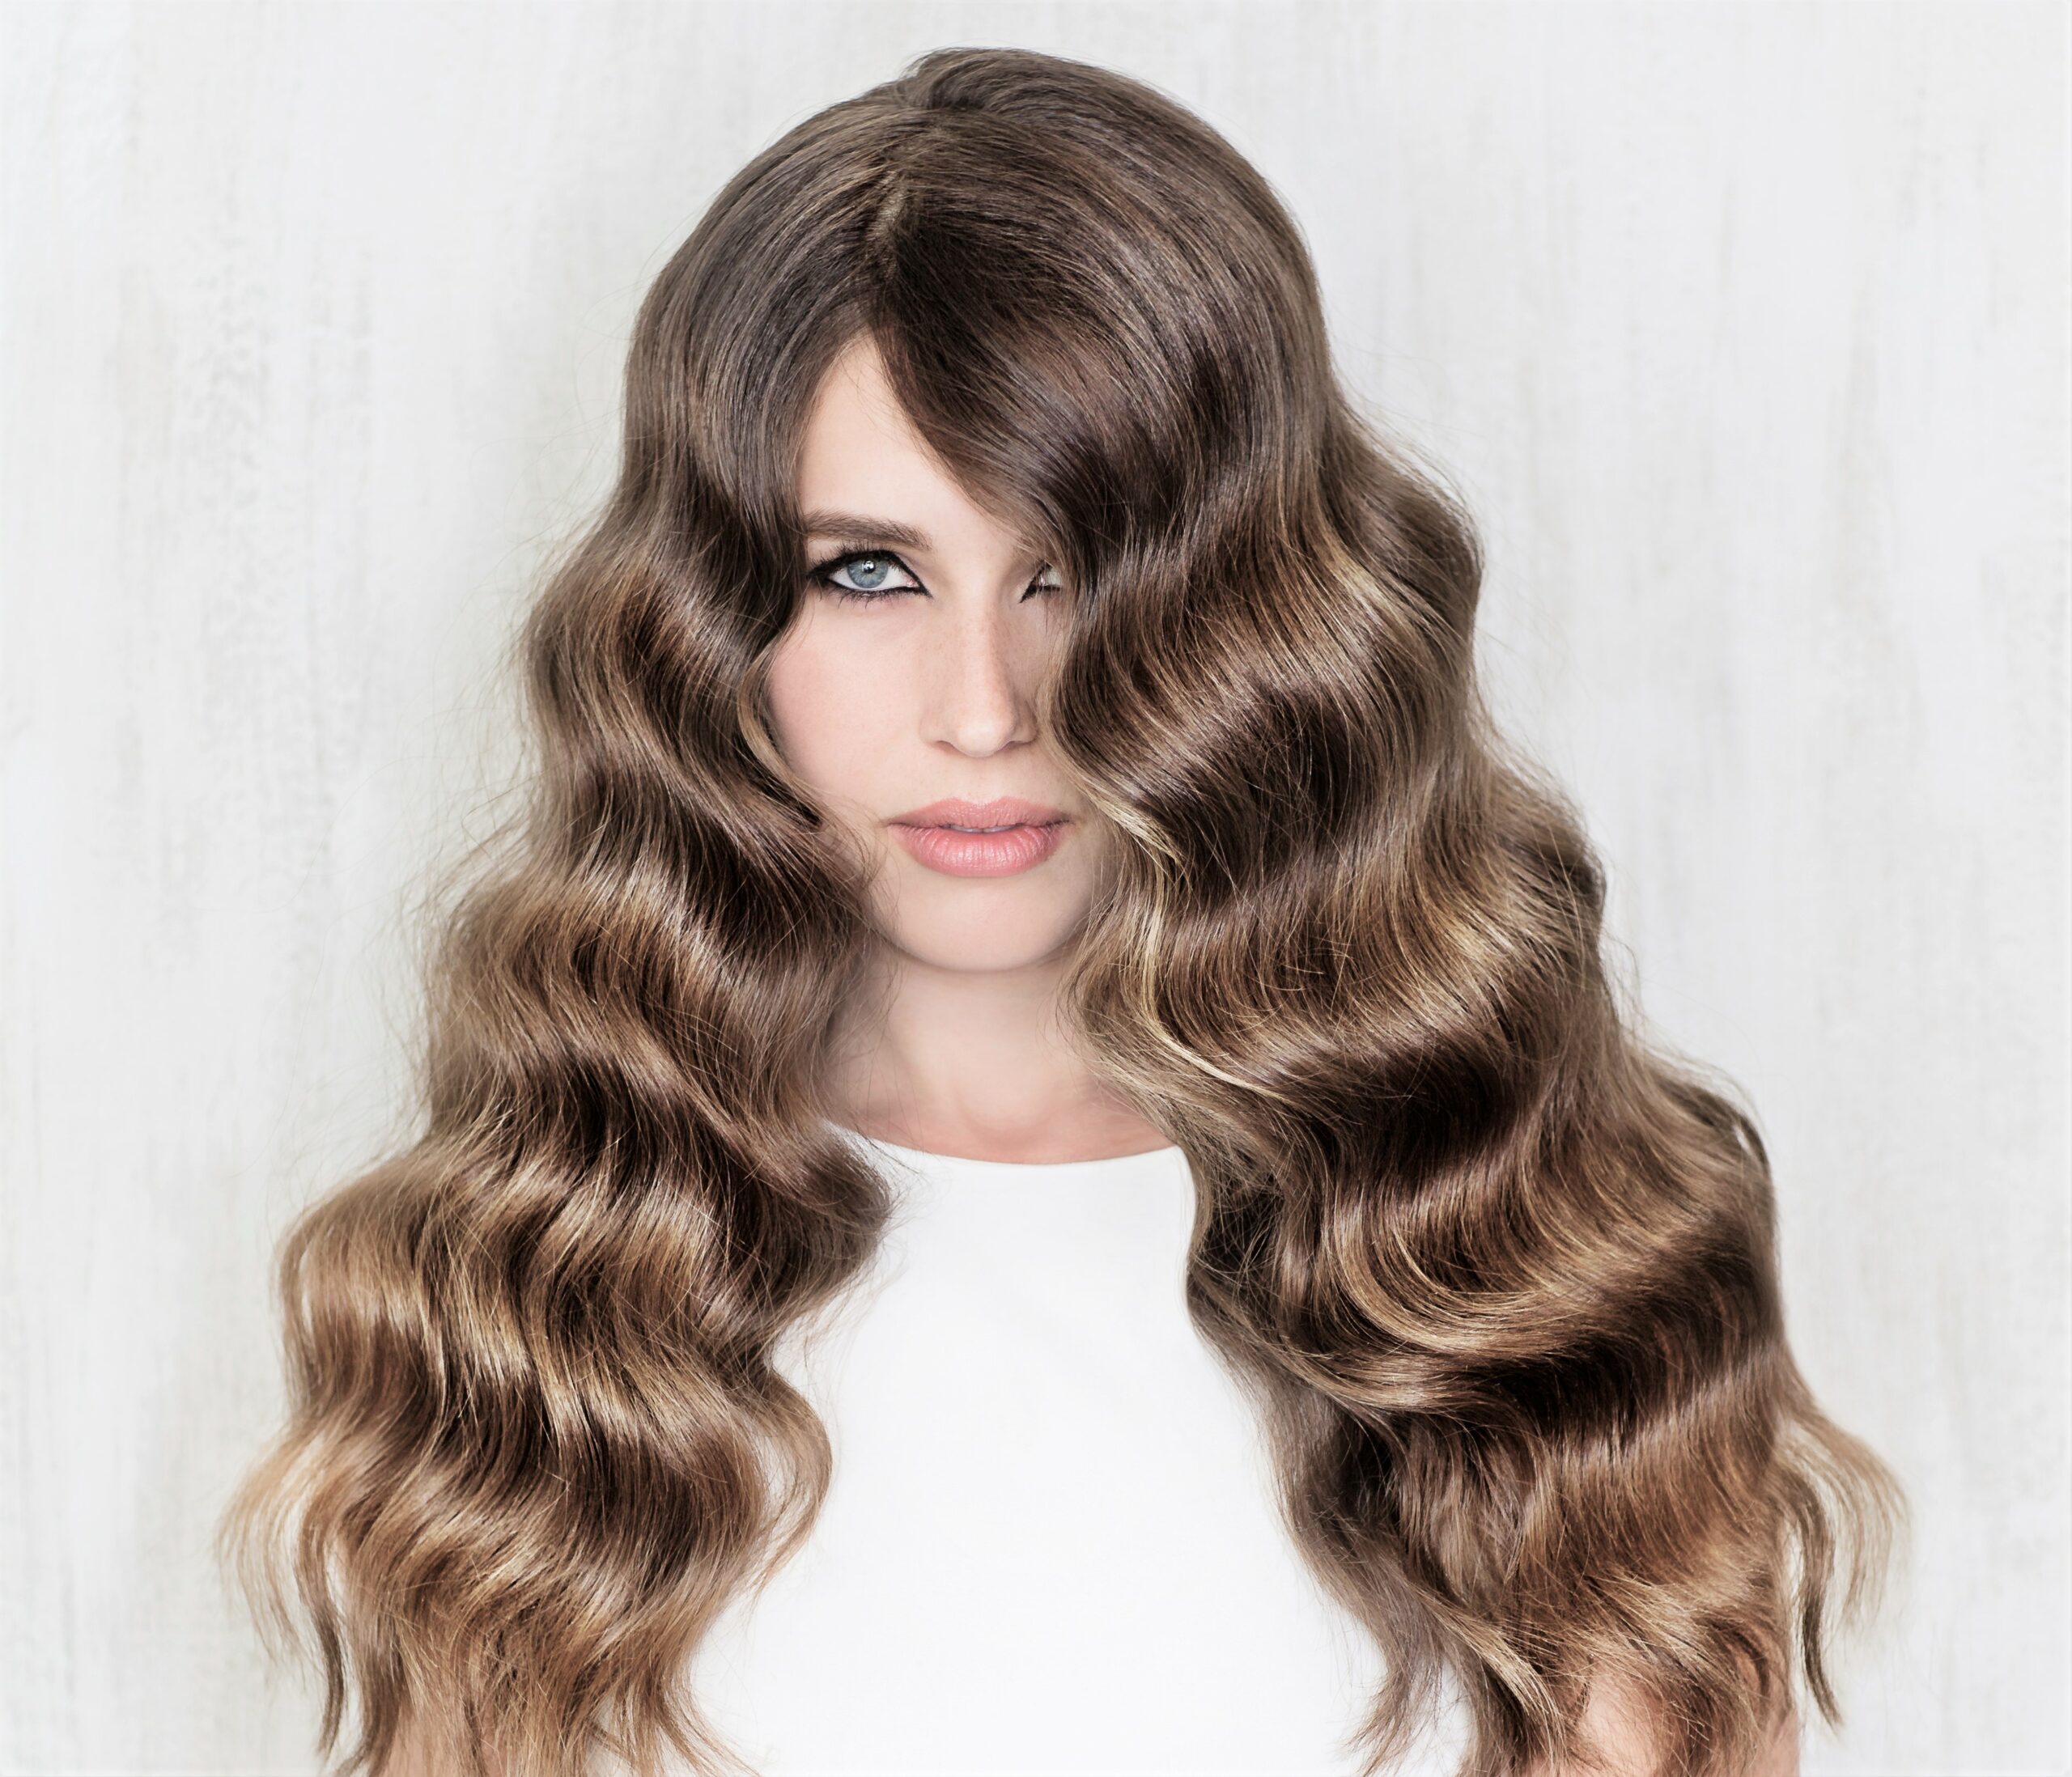
We love creating beautiful colour with lots of delicious tones. From rich, glossy chocolate brunettes with ribbons of toffee & caramel tones to buttery blondes with a honey hue. Sounds good enough to eat right?
We are lucky enough to have Bristol Legend, Bryony Williams as a guest and talk always turns to food during a colour consultation!
Your Ombre Cake Recipe
Ingredients
- Sponge
- 350g unsalted butter, softened
- 350g caster sugar
- 350g self-raising flour
- ½ tsp baking powder
- 7 medium eggs
- 1 tbsp milk
- 1 tsp vanilla extract
- 3 tbsp cocoa powder
- Icing
- 400g unsalted butter, softened
- 800g icing sugar, sifted
- 3 tbsp cocoa powder
- 50g dark chocolate, chopped
Method
- Oven on to 160C fan/180C. Grease and line 3 x 8 inch cake tins.
- Beat the butter and sugar until light and fluffy. Add 4 eggs and the milk, mix to combine. Add half the flour and the baking powder, mix to combine. Repeat with the remaining eggs and flour.
- Place half the batter in a separate bowl. Add 3 tablespoons of cocoa powder to one half of the batter and mix gently to combine. In another bowl add half the cocoa powder batter and half the plain batter and fold until smooth (you should now have 3 batters; one dark brown, one pale brown and one plain). Place the plain batter in one cake tin, the pale brown in another and the dark brown in the third tin. Bake for 30 minutes until risen and a skewer comes out clean. Leave to cool in the tins for 15 minutes then tip onto a cooling rack to cool completely.
- Make the icing. Beat the butter until light and smooth. Add half the icing sugar and beat until smooth. Add the second half of the icing sugar and beat again until smooth. Place half the icing in another bowl and add 3 tablespoons of cocoa powder then beat until combined (add a splash of milk if too stiff).
- Build the cake. Trim the tops of the sponges with a serrated knife. Place the plain sponge on your cake board/plate and spread over a few tablespoons of the plain icing. Repeat with the next 2 sponges, first the pale brown and then the dark brown. Cover the cake with a thin layer of the plain icing and smooth with a cake smoother.
- Add the plain icing to the bottom half of the cake and the chocolate icing to the top half and the top of the cake. Smooth using a cake smoother/palette knife blending the different icings together in the middle.
- Place any remaining icing in a piping bag with a star nozzle. Pipe stars on top of the cake. Sprinkle over the chopped dark chocolate.